
Boot from optical media or ISO in VM#
As soon as the installation media has loaded, press Shift + F10 to open the command prompt.
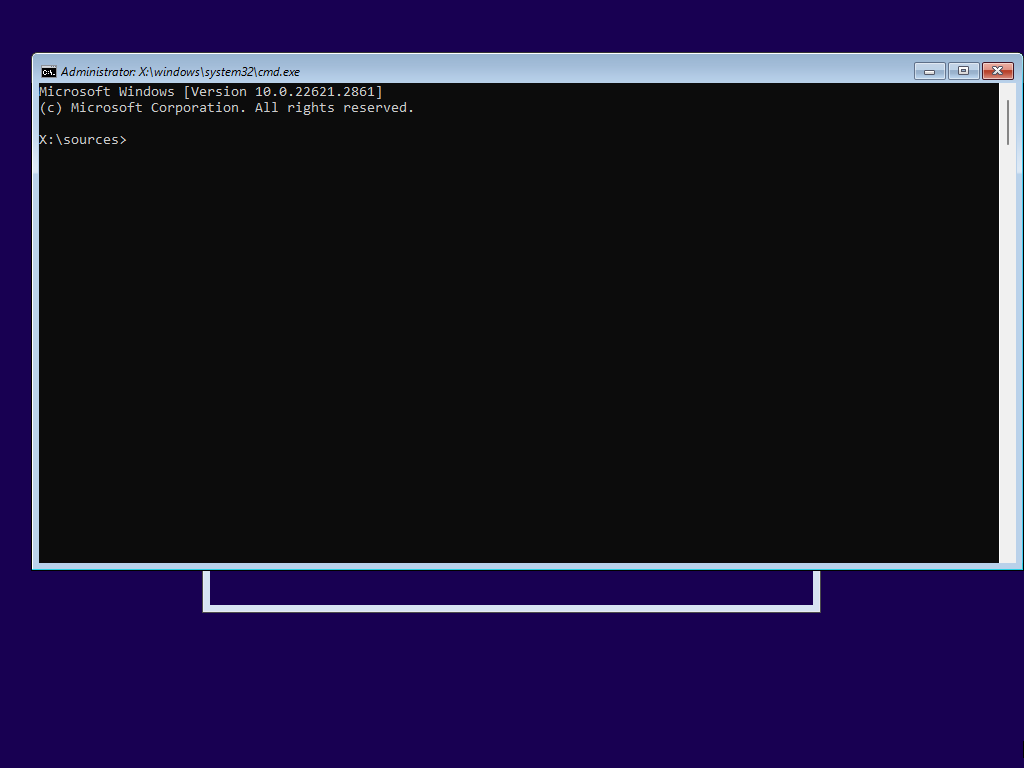
The command prompt should automatically be in the X:\sources directory.
Partition disk#
Start disk partitioning:
diskpart
List all the disks:
list disk
Select the disk you want to install to:
sel disk 0
Convert the disk to gpt:
convert gpt
Ensure the Gpt column has a star:
list disk
Create EFI partition:
create partition efi size=100
Create main partition for OS. By default, creating the primary partition will use the remaining space on the drive:
create partition primary
Verify the partitions were created:
list par
Format partitions#
Select the EFI partition and partition it as FAT 32:
sel par 1
format fs=fat32 quick
Select and format the primary OS partition:
sel par 2
format fs=ntfs quick
Assign Drive Letters to new partitions#
sel par 1
assign letter=g:

sel par 2
assign letter=c:
Verify drive letters with:
list vol
Exit diskpart by typing exit.
Install Windows to C: drive (primary partition)#
Change to D:\sources, which contains the Windows installation sources.
d:
cd sources
Then run:
DISM /Get-ImageInfo /imagefile:install.wim
Find the index for the variant you want. For Windows 11 Home, the index shows as 1. Then, install Windows files to the C: drive:
DISM /apply-image /imagefile:install.wim /index:1 /applydir:c:
This might take a couple minutes. On my machine, it was fairly quick. This is actually installing the Windows files to the primary partition, which we assigned earlier to C:.
Install Windows bootloader to G: drive (EFI partition)#
bcdboot c:\Windows /s G: /f ALL
Exit the command prompt, close the installer and reboot.
Bypass Microsoft sign-in (offline setup)#
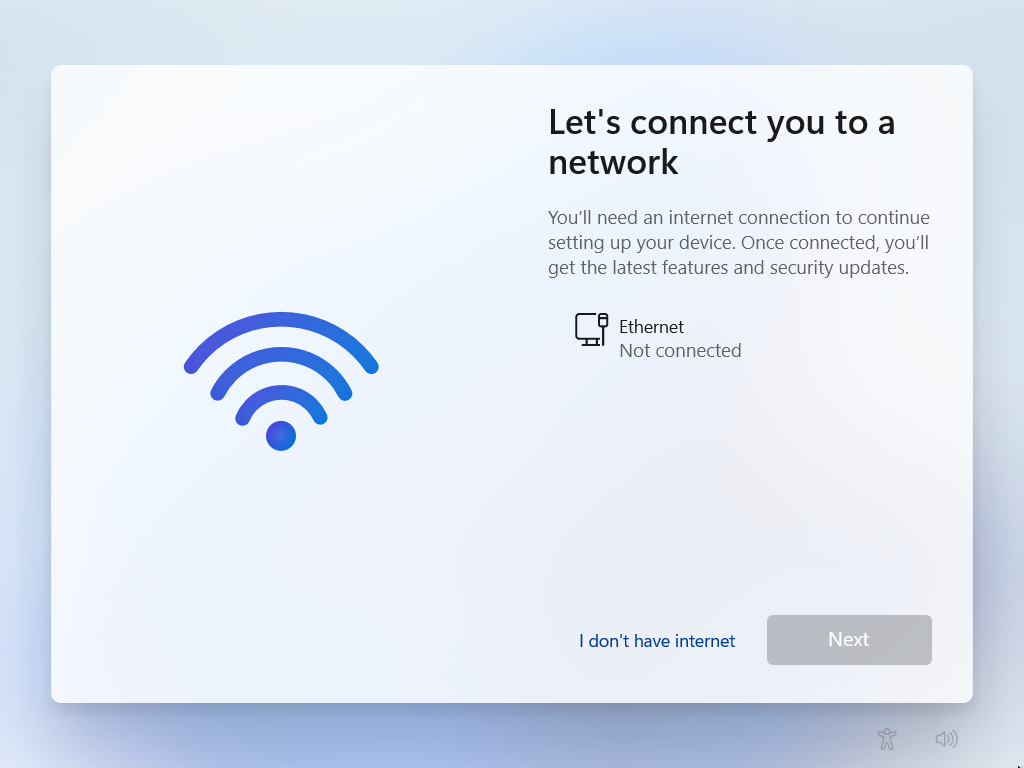
It’s probably a good idea to disconnect your network cable (if you’re on a physical machine) or disable your virtual network adapter (if installing to a VM). Then, once you’ve rebooted the machine, press Shift + F10 to get the command prompt, then enter:
oobe\bypassnro
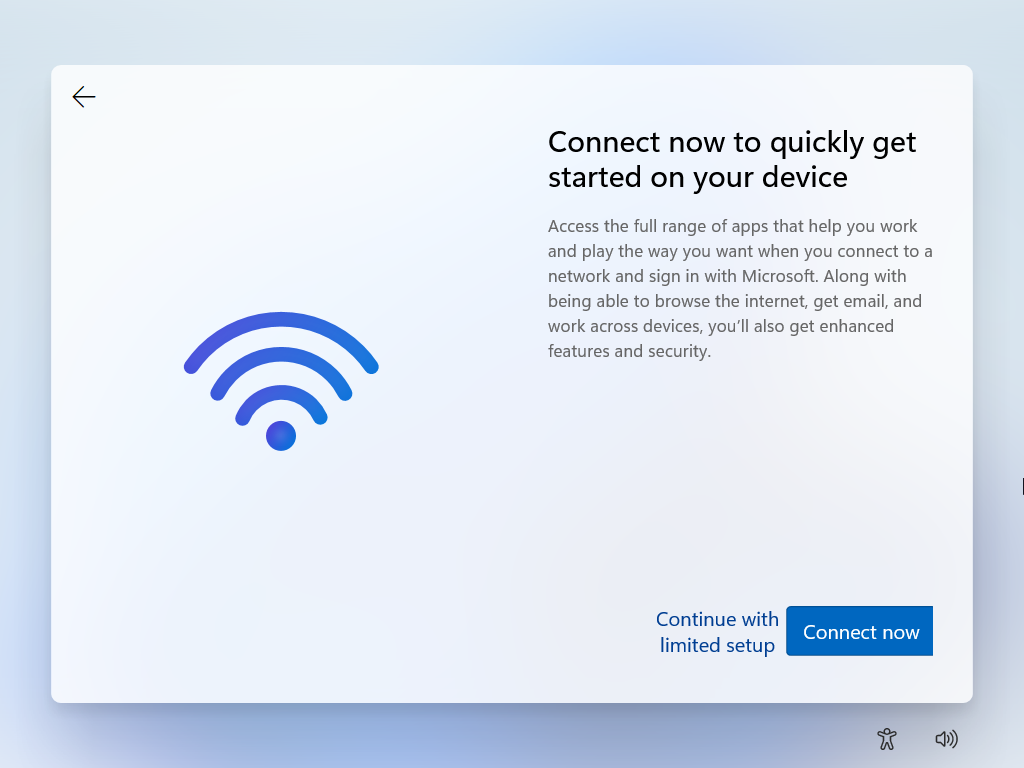
Let it reboot, then you’ll have the option for “I don’t have internet”, and then choose limited setup.
How to avoid security questions during setup#
Leave the password blank to avoid having to answer the security questions.