
Can Arch Linux run on MacBook Pro with Parallels?#
Yes! I use an Arch Linux ARM VM on my MacBook Pro almost every day. It works quite well.
However, there’s a lot of misinformation out there about installing and running Arch Linux on Apple Silicon. At the time of this post, the Arch Linux wiki currently directs users to this article by Parallels to install Arch Linux on Apple Silicon. However, the Parallel instructions are old and do not work.
To be fair, the Arch Wiki does provide a download for a pre-installed VM that is ready to go. However, it’s set up with very low storage options (partitioning) and was basically useless for a daily driver for my needs.
I will attempt to keep this post recent.
Where can I download Arch Linux ARM?#
archboot.com#
The best place to download Arch Linux ARM for use with Parallels VM is archboot.com. Download the standard ISO image - at the time of this writing, there is also a “local” (offline) installer, but it doesn’t actually work for me. It gets stuck creating a container and never finishes.
A Note on setup scripts (Do not use them)#
Once you download the archboot ISO and boot off it, it will automatically start up with a CLI “GUI” installer helper program. Do not use this to install Arch. It is broken. Instead, you should follow the Installation Guide on the Arch Wiki.
You can let the GUI set up networking to easily get connected to the internet.
Don’t worry, I’ll post screenshots of every single step I did to make this work.
Installation#
Alright, let’s get started!
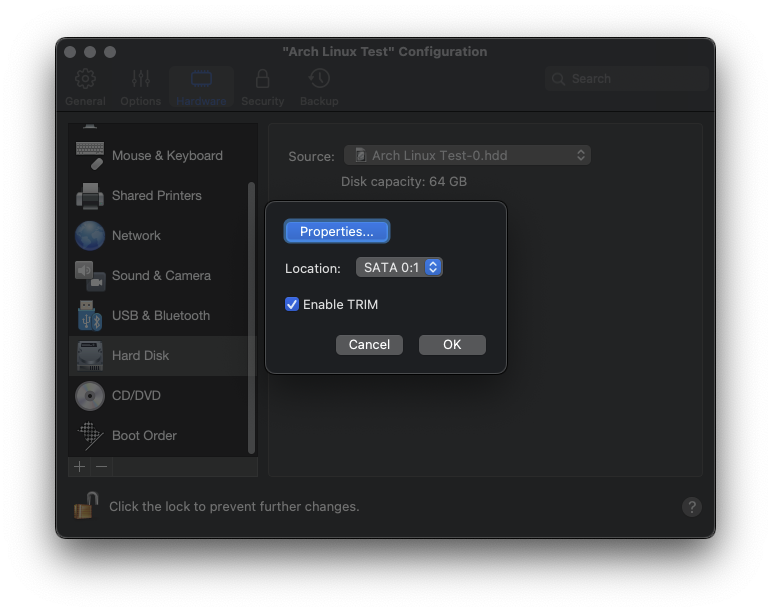
Create and configure new Parallels VM#
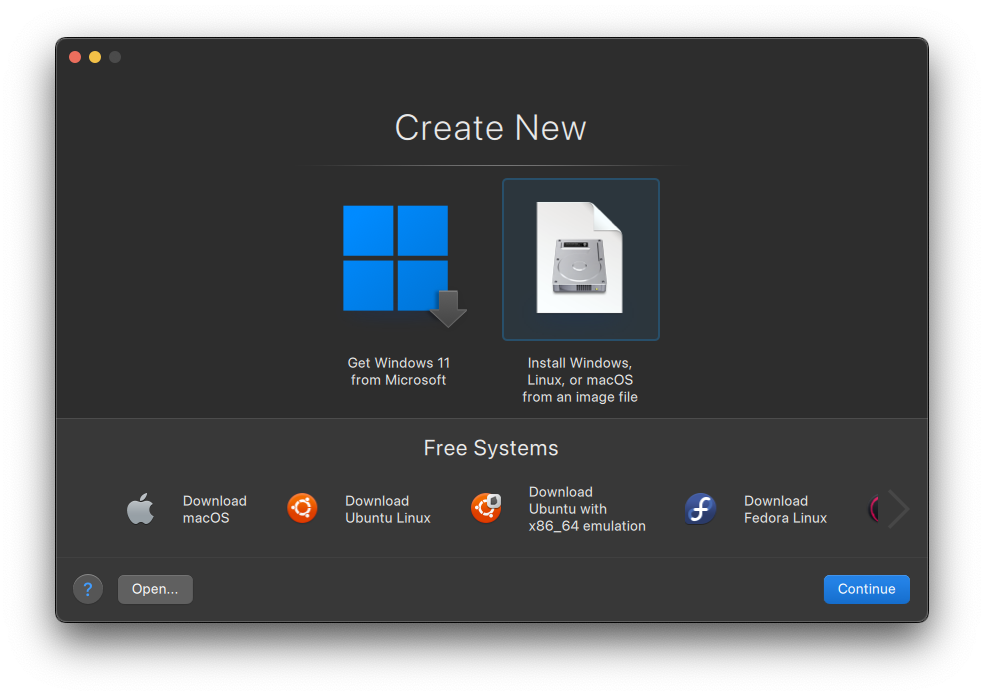
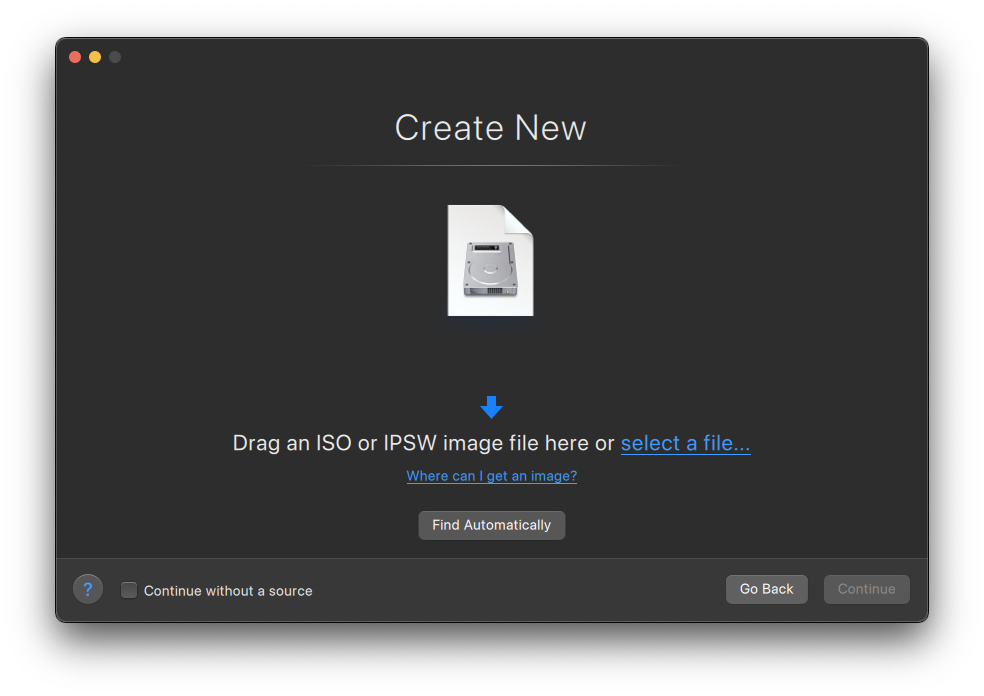
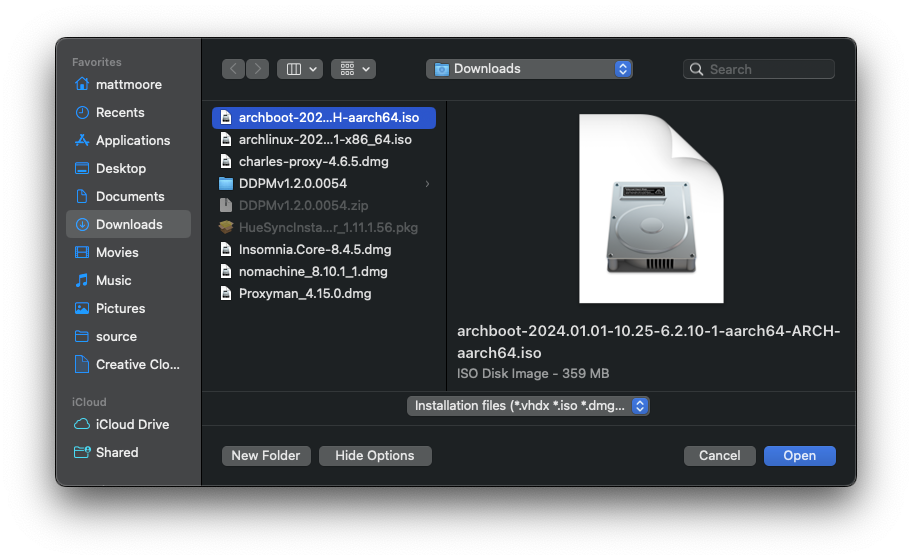
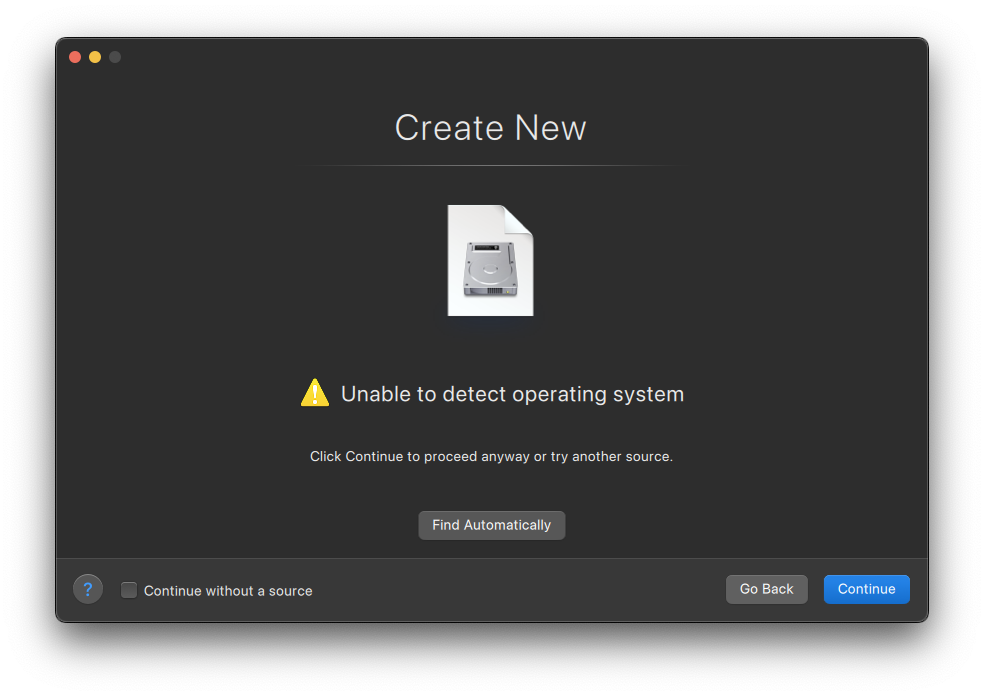
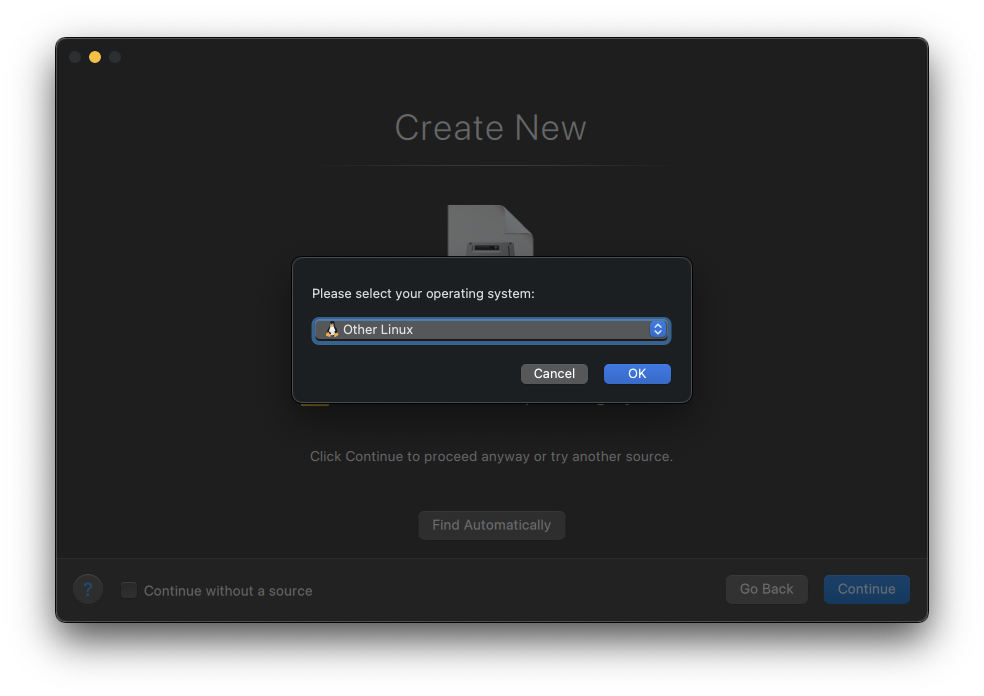
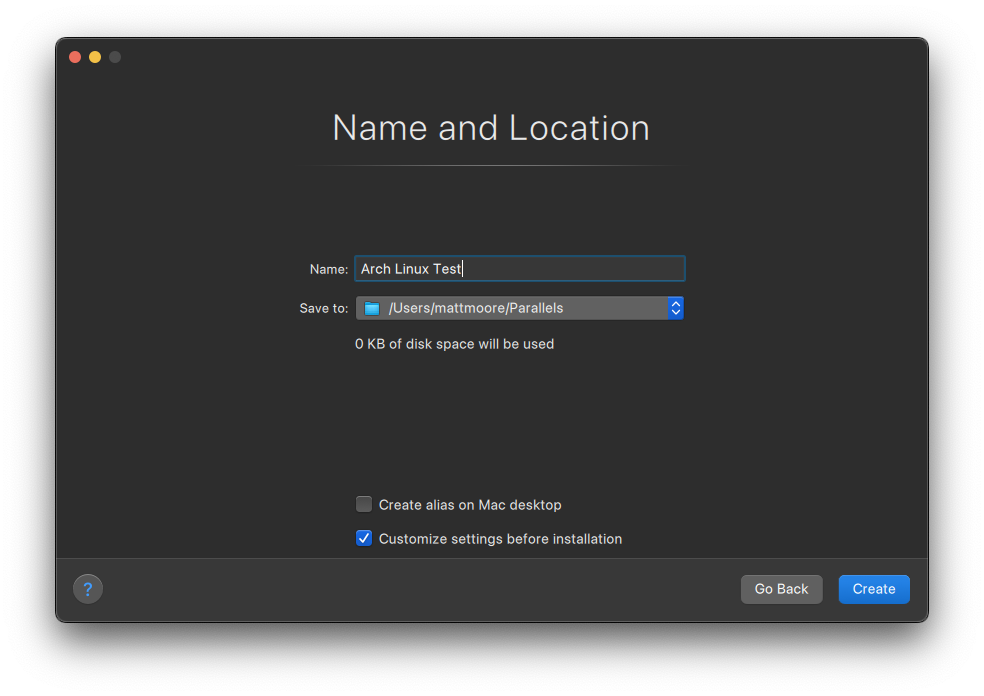
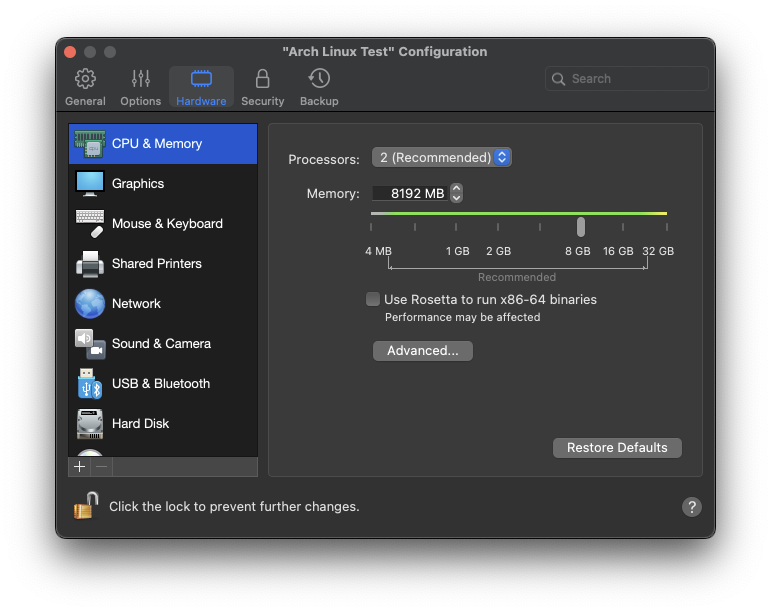
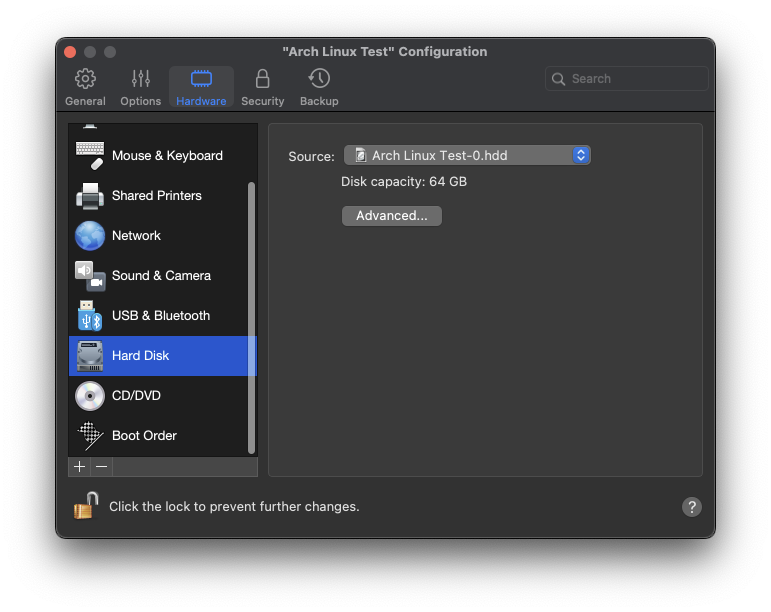

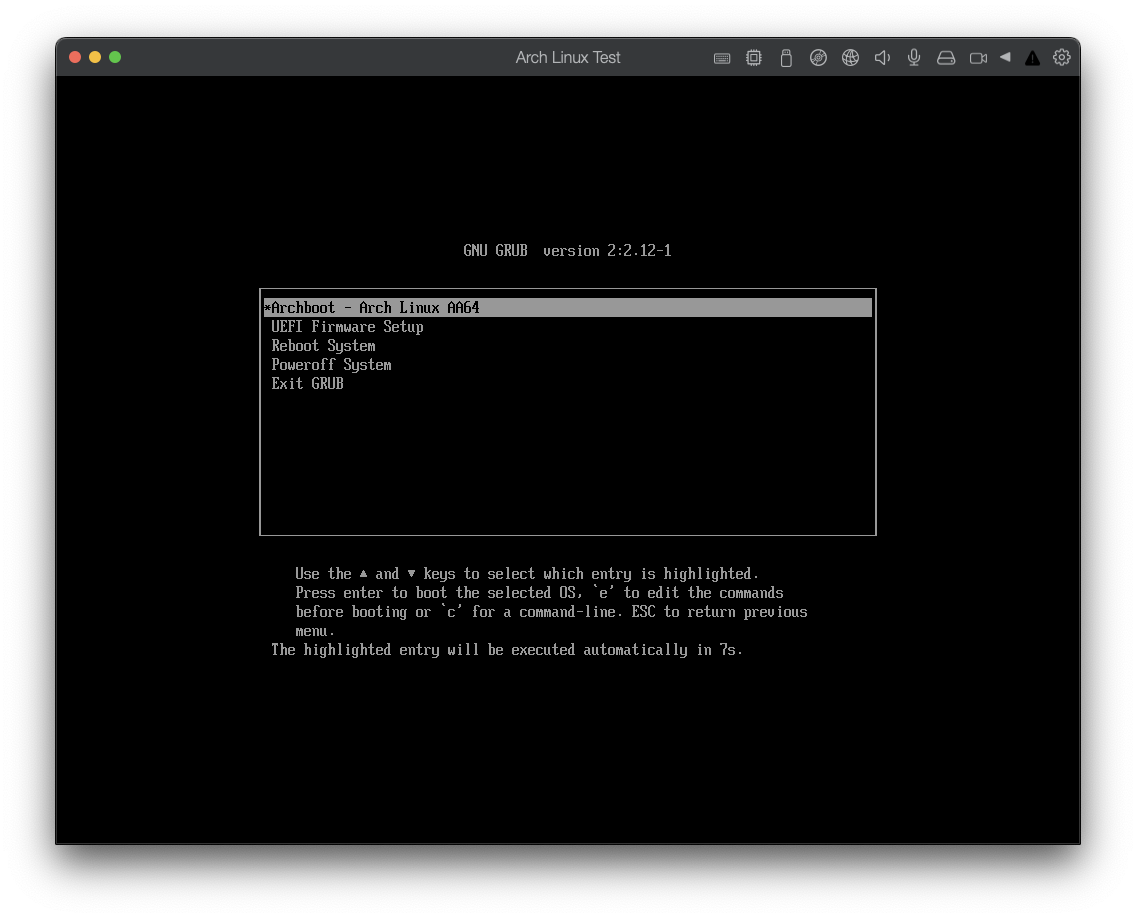
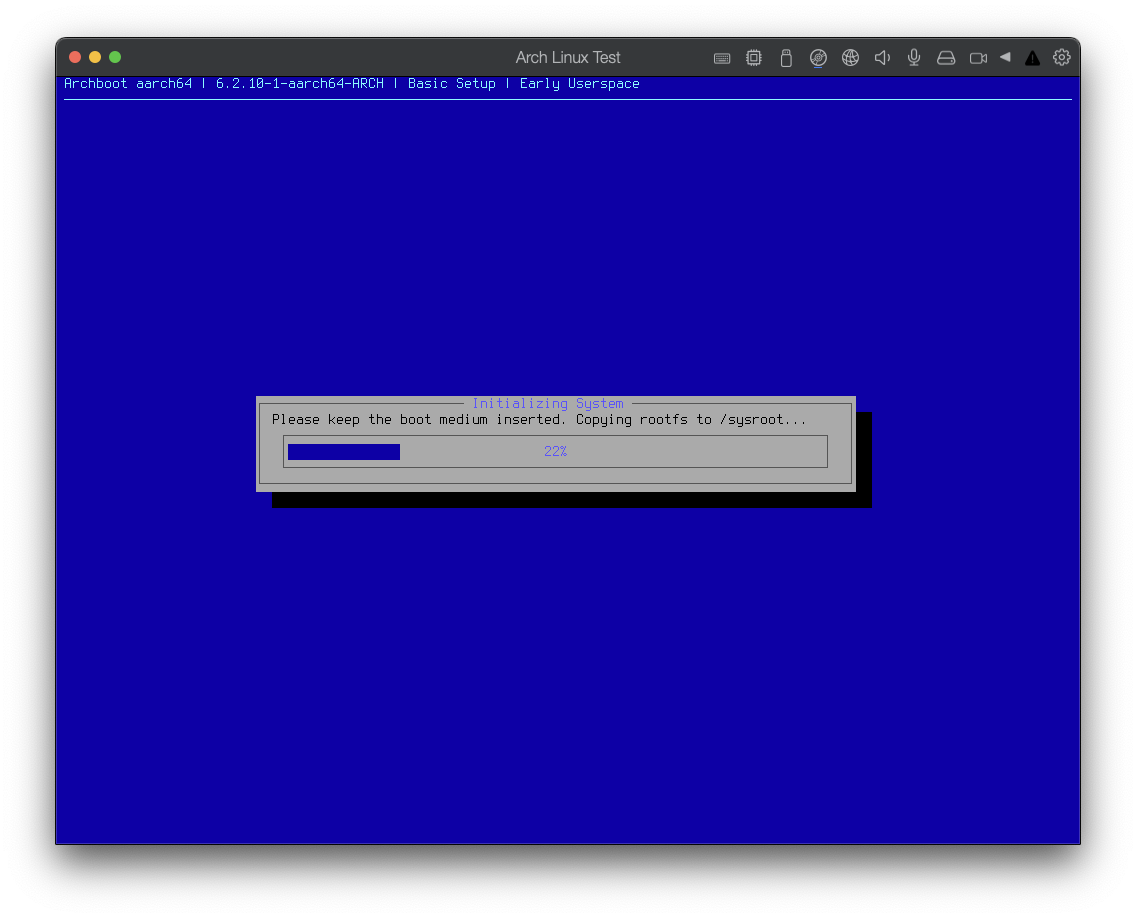
Boot live ISO#
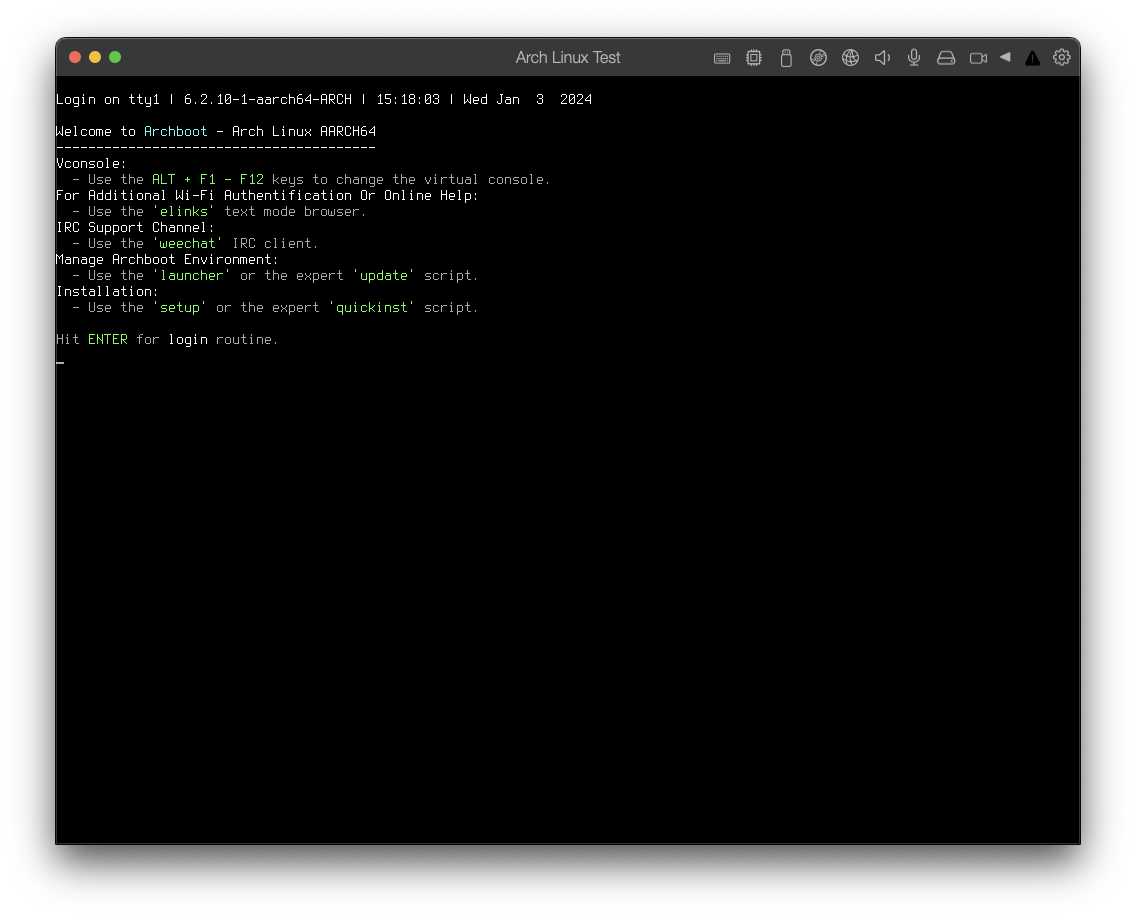
Warning: Do not continue to use the Archboot Basic Setup! If you try to use it to partition disks and install Arch Linux ARM, it will fail and your VM will be in a broken state.
Instead, we’re going to exit the Archboot Basic Setup and proceed to (mostly) follow the directions from the official Arch Linux Installation Guide.
To get out of the Archboot Basic Setup, just enter Ctrl + C, which should dump you directly to the terminal.
Partition the disks#
You can view all your disks and existing partitions with:
fdisk -l
Disk /dev/sda: 128GB, 137438953472 bytes, 268435456 sectors
Disk model: Arch Test-0 SSD
Units: sectors 1 of * 512 bytes / 4096 bytes
I/O size (minimum/optimal): 4096 bytes / 4096 bytes
Since we just created this VM and disk, there are no partitions. You should just see /dev/sda and any other virtual disks you might have created.
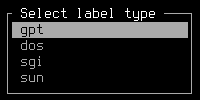
To partition the disks, I prefer using cfdisk. Type cfdisk, then select gpt from the list and press Enter:
Now you should see your /dev/sda device in cfdisk, showing free space:
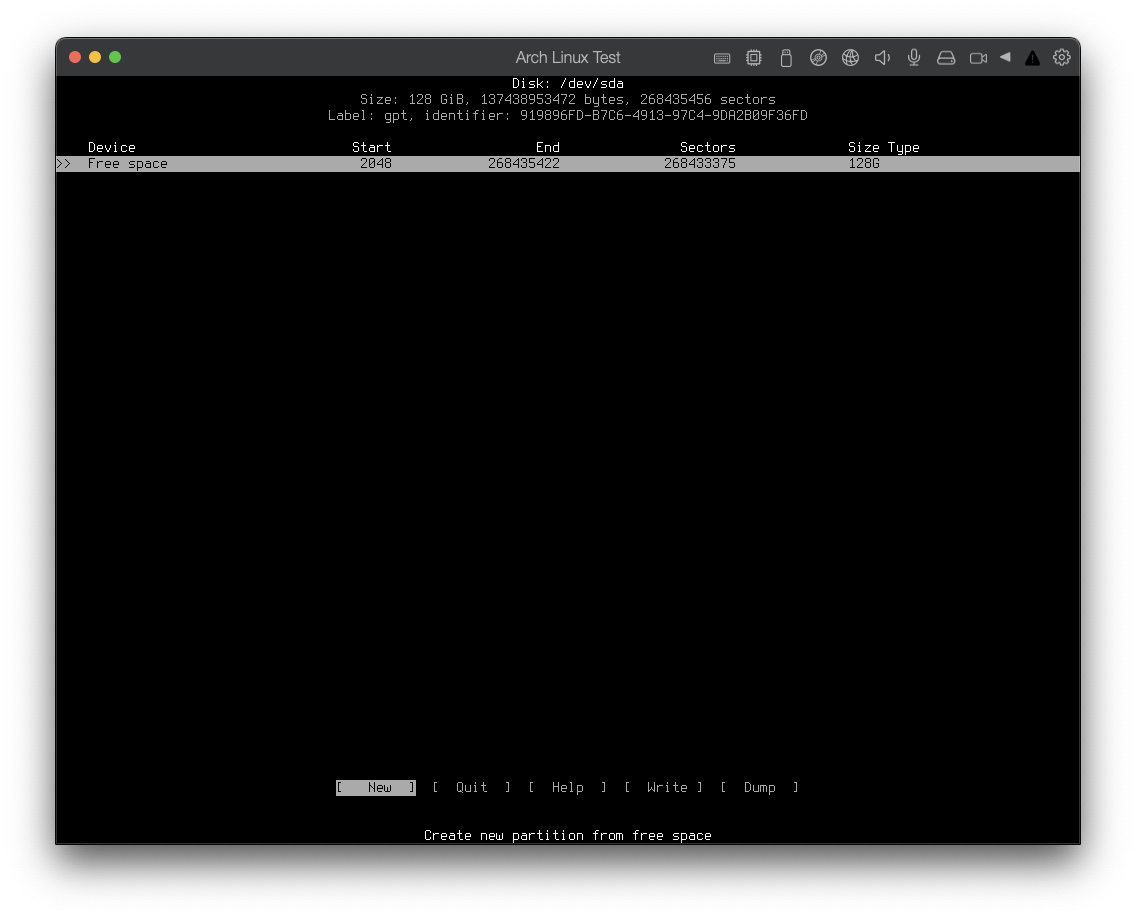
You can create partitions now. The up/down arrow keys allow you to move up and down the partition list, and right/left allow you to select the commands at the bottom of the screen. Enter executes the selected command.
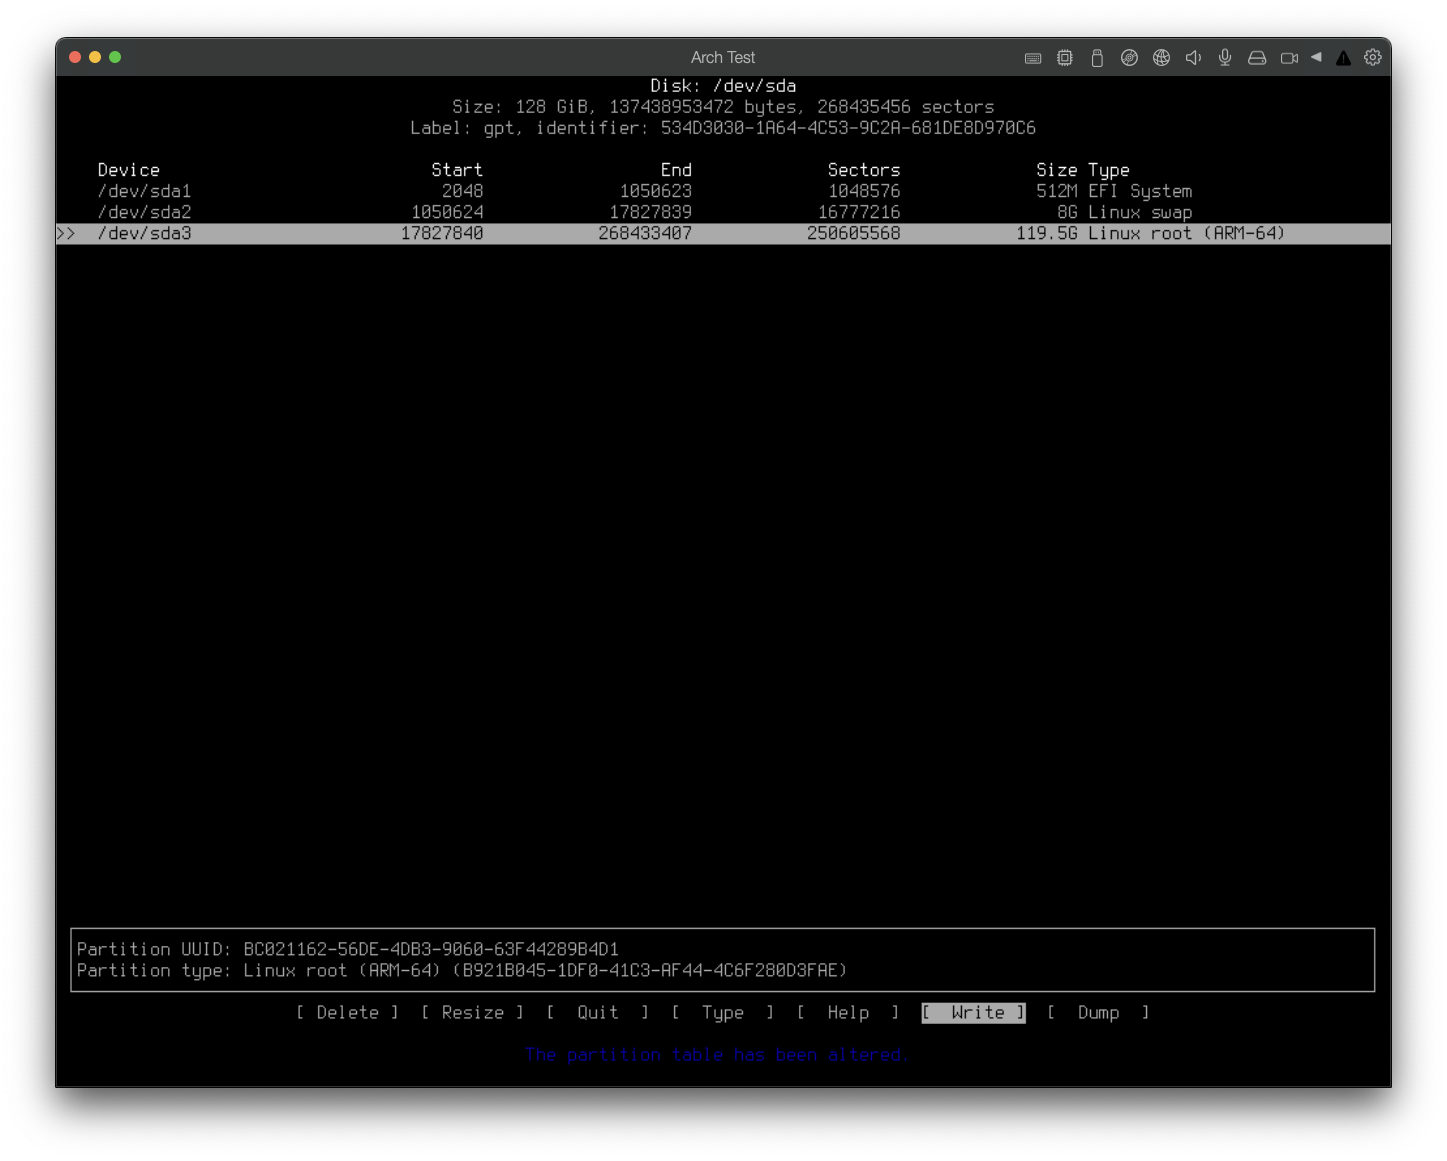
Make sure your partition types are set correctly. At minimum, you should have:
EFI System- Set this to 512m.Linux swap- I have this set to8g. What number you select depends on your use-cases. Here’s a decent article explaining swap sizes.Linux root (ARM-64)- Remaining space of the drive.
Note: Normally on bare metal I would create a separate partition for / and /home. For VMs, I typically share a partition for / and /home. You are free to add as many partitions as you’d like. This is one big reason why I recommend not using the pre-built VM linked to from the Arch Wiki. I’m glad it exists, and you might be fine with it, but I like to have the freedom to set the partition sizes to my needs.
If you have a /home partition separate from /, make sure to set the partition type for / to Linux root (ARM-64) and the partition for /home to Linux home.
Finally, ensure you select Write within cfdisk and confirm with yes, then Enter. Once the partition table is written, you can select Quit to exit cfdisk.
You can confirm the partitions were created with:
fdisk -l
Device        Start       End   Sectors   Size Type
/dev/sda1      2048   1050623   1048576   512M EFI System
/dev/sda2   1050624  17827839  16777216     8G Linux swap
/dev/sda3  17827840 268433407 250605568 119.5G Linux root (ARM-64)
Format the partitions#
In case you need to view the partition identifiers, remember to use fdisk -l.
EFI partition#
mkfs.fat -F 32 /dev/sda2
Swap space#
mkswap /dev/sda3
Root and home partitions#
mkfs.ext4 /dev/sda4
Mount partitions#
Mount the root volume to /mnt.
mount /dev/sda4 /mnt
Note: Recall that earlier I mentioned I’m sharing the same partition for / and /home. If you had a separate partition for /home you would want to mount that as well. You would do so with:
mount --mkdir /dev/sdaX /mnt/home
Mount the EFI partition to /mnt/boot
mount --mkdir /dev/sda2 /mnt/boot
Activate the swap partition
swapon /dev/sda3
If all went well, you can check that everything is properly mounted with:
lsblk
NAME   MAJ:MIN RM   SIZE RO TYPE MOUNTPOINTS
sda      8:0    0   128G  0 disk
├─sda1   8:1    0   512M  0 part /mnt/boot
├─sda2   8:2    0     8G  0 part [SWAP]
└─sda3   8:3    0 119.5G  0 part /mnt
sr0      11:0   1 342.3M  0 rom
zram0   251:0   0     5G  0 disk /
sr0 and zram0 here. We mainly care about sda.Disable package signing#
pacstrap. Both Arch Linux x86_64 and Arch Linux aarch64 (ARM) use package signing. While Arch Linux x86_64 package signing works (and you should use it), I could not get package signing to work in a Parallels VM with aarch64 (ARM). So we’re going to disable it for now.To disable package signing, edit the file /etc/pacman.conf and comment out the line with SigLevel = Required DatabaseOptional (comment so you can easily reenable it later) and add a new line with SigLevel = Never:
#SigLevel = Required DatabaseOptional
SigLevel = Never
Installing essential packages#
pacstrap is a tool that comes with Arch Linux to install the initial packages you want for your new setup. At a minimum, you need these packages:
pacstrap /mnt base base-devel linux grub efibootmgr bash-completion neovim terminus-font git
I’ve added terminus-font as a minimum for Archboot, otherwise the rest of the process will fail. For vanilla Arch Linux, terminus-font is not required. For Archboot,terminus-font has to be installed separately because it doesn’t get auto-installed correctly via Archboot, and will cause errors when the linux image is being generated.
This will take some time to install, depending on your internet connection. Once complete, we can move on to the next step, where we’re configure the system.
linux package via pacstrap as it tries to execute mkinitcpio. You can ignore these.Configure the installation#
Generate /etc/fstab
genfstab -U /mnt >> /mnt/etc/fstab
Change root into the new system. This will “enter” us into the newly installed environment:
arch-chroot /mnt
Set the time zone
ln -sf /usr/share/zoneinfo/Region/City /etc/localtime
Replace Region and City with your own. For example, my closest timezone region and city are America/Detroit.
Run hwclock to generate /etc/adjtime:
hwclock --systohc
Configure localization settings:
- Edit
/etc/locale.genand uncomment your locales. Mine isen_US.UTF-8. - Save and close the file.
- Run
locale-gen.
Create /etc/locale.conf and set the LANG variable to the value you uncommented in /etc/locale.gen:
LANG=en_US.UTF-8
Finally, set your hostname in /etc/hostname.
Disable package signing on the installed OS#
I also mentioned earlier that package signing is broken in the current release of Archboot ARM, and we had already disabled it for the live ISO. But after arch-chroot we have to disable it again for the installed (not the live ISO) system.
To disable package signing, we do the same thing as before. Edit the file /etc/pacman.conf and comment out the line with SigLevel = Required DatabaseOptional (comment so you can easily reenable it later) and add a new line with SigLevel = Never:
#SigLevel = Required DatabaseOptional
SigLevel = Never
Then save and exit.
Initramfs (Installing the Linux kernel)#
Earlier I mentioned when running pacstrap with the linux package might show errors. Just to make sure the Initramfs is configured, we’ll manually run:
mkinitcpio -P
mkinitcpio -P runs. You should be able to ignore these at this point.Set the root password#
Enter this command to set the password for the root user:
passwd
Then follow the prompts to enter your password twice.
Boot loader (Grub)#
I prefer Grub as I’m familiar with it, it’s super popular, easy to set up, and I know it works with Parallels VMs on ARM, so that’s what I’ll show here.
That being said, you can try to use whatever boot loader you want. See the Arch Linux Wiki info on boot loaders.
Earlier when we ran pacstrap we already installed the grub and efibootmgr packages. If you hadn’t, you can install them with:
pacman -S grub efibootmgr
Next, install the bootloader with grub-install:
grub-install --target=arm64-efi --efi-directory=/boot --bootloader-id=GRUB
The grub bootloader will use the file /boot/grub/grub.cfg to boot the OS each time the VM starts. To generate grub.cfg, run:
grub-mkconfig -o /boot/grub/grub.cfg
If successful, you should see output similar to this:
Generating grub configuration file ...
Found linux image: /boot/Image
Warning: os-prober will not be executed to detect other bootable partitions.
Systems on them will not be added to the GRUB boot configuration.
Check GRUB_DISABLE_OS_PROBER documentation entry.
Adding boot menu entry for UEFI Firmware Settings ...
done
Create your user account#
useradd -m -G wheel username
passwd username
Enter your password twice.
Now, you probably want to grant your new user the ability to execute commands with sudo. To do so, let’s edit the /etc/sudoers file:
EDITOR=nvim visudo # or nano if you prefer
Find this section:
## Uncomment to allow members of group wheel to execute any command
# %wheel ALL=(ALL:ALL) ALL
and uncomment this line:
%wheel ALL=(ALL:ALL) ALL
Then save the file and close it.
Configure VM network (get on the internet)#
You can use all sorts of tools for network configuration. The current default for Arch Linux is systemd-networkd. You can follow that Arch Wiki article for examples of configurations.
For my VM, I’m going to enable DHCP. First, get the name of your network interface with ip link command, which should return you something like enp0s5 (in my case). Then you can configure DHCP for the network interface like this:
/etc/systemd/network/20-wired.network:
[Match]
Name=enp0s5

[Network]
DHCP=yes
Now link systemd-resolved to /etc/resolv.conf:
sudo ln -sf /run/systemd/resolve/stub-resolv.conf /etc/resolv.conf
Once you’ve configured systemd-networkd, you’ll want to next enable it as well as systemd-resolved so the VM will get connected to the network automatically upon boot:
sudo systemctl enable systemd-networkd systemd-resolved
Reboot#
Your system is now installed! Exit the arch-chroot environment with exit command or Ctrl + D. Then you can simply type reboot and the VM should reboot.
Log in to your new VM#
Once it reboots, you’ll momentarily see this screen:
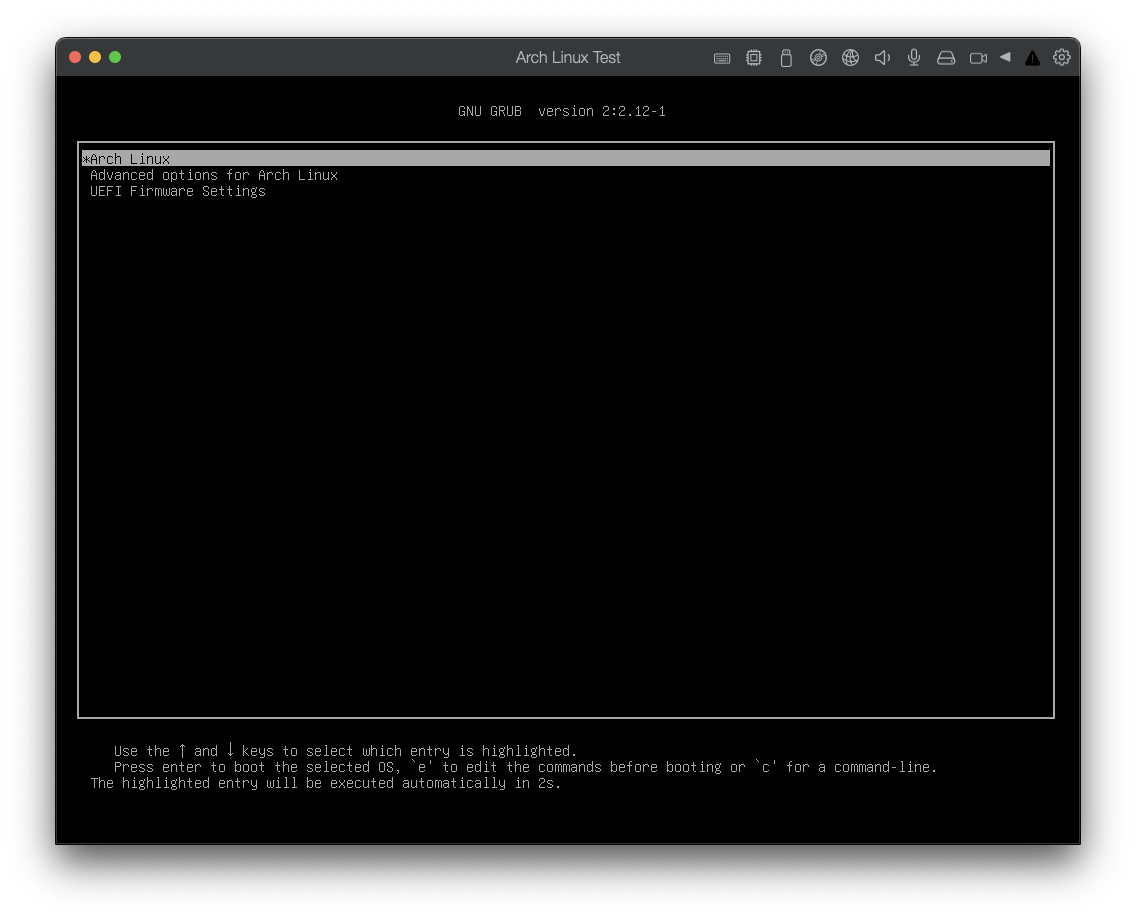
You can let the timer run to auto-select Arch Linux or press enter to start it without waiting for the boot countdown. Once booted, you should see the login screen:
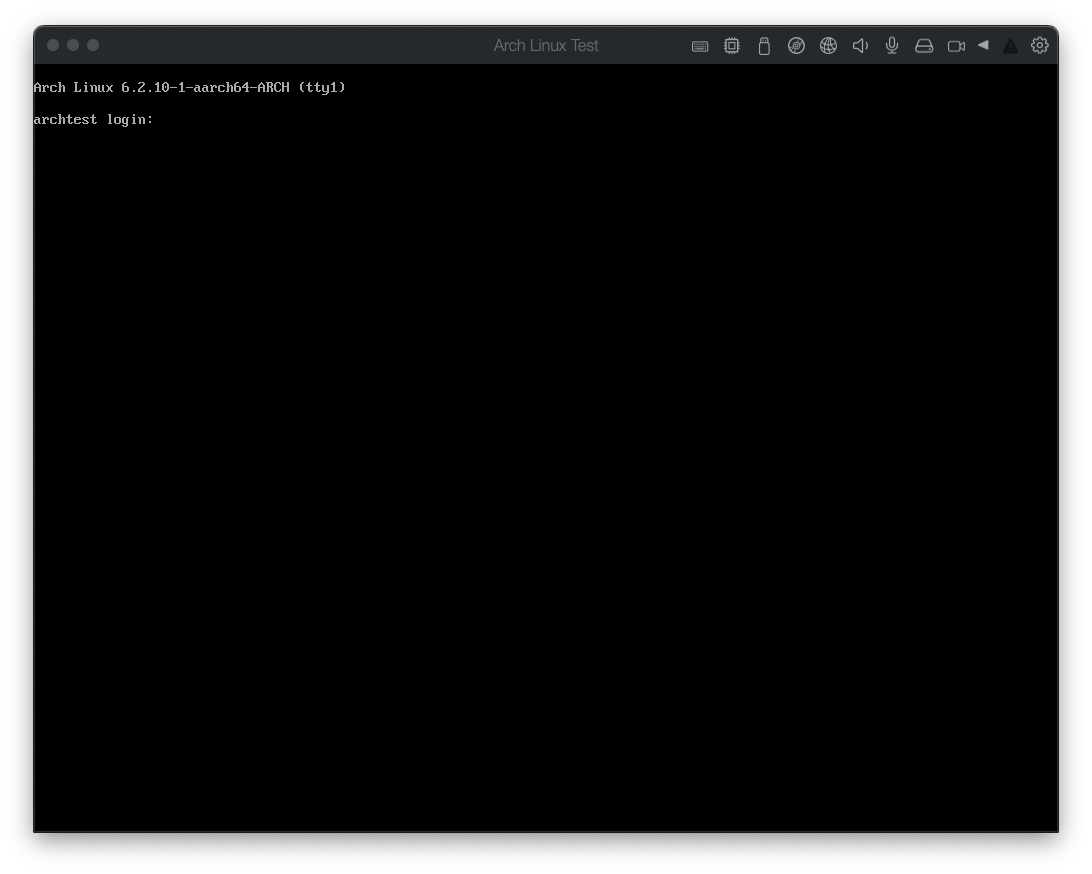
Use the username and password you set when creating your account. You can also log in as root user, but that’s not recommended.
You should be online in the VM, if your network configuration was correctly set up. You can test with a ping:
ping archlinux.org
Update Arch Linux#
To ensure Arch Linux is updated to the latest:
pacman -Syyu
Install yay#
yay is an AUR (Arch User Repository) helper. You’ll want to install it for easy automated installations from the AUR.
git clone https://aur.archlinux.org/yay.git
cd yay
makepkg -si
Verify yay:
yay --version
Clean up:
cd ..
rm -rf yay
yay takes the same options as pacman but whereas you run sudo pacman, never run sudo yay. Just run yay without sudo. This is for security reasons, as AUR scripts shouldn’t be trusted by default.
Install Parallels Tools#
From the Parallels Actions menu, select Install Parallels Tools. Then:
sudo pacman -S linux-headers dkms
sudo mount --mkdir /dev/cdrom /mnt/cdrom
sudo /mnt/cdrom/install
Final Notes#
Hopefully all went well and you’ve got a functioning minimum Arch Linux installation. If any part of this guide didn’t work for you, please reach out as I’d like to know so I can update this article.
If you want a desktop environment, the Arch Linux Wiki has you covered.
I have been using KDE Plasma of late. For a quick setup guide, see my post here.
If you want an easy method for installing unofficial packages from the Arch User Repository (AUR), see my post here.