
Historically Linux distros typically install with ext4 partitions. If you want to install multiple Linux distros with ext4, you’d have to create a separate partition for each Linux distro.
But using multiple partitions for distros means you will have less overall space to work with, as you have to make sure to allow enough space to fit the Linux distro, any installed packages, and leave a little headroom.
There are filesystems that allow us to install multiple Linux distros (as well as take multiple snapshots of the same distro) all on a single partition, allowing us to use the full space available on the drive. Btrfs is one of these, and the topic of this article.
Arch is actually fairly easy to set up with btrfs. But Ubuntu is a little bit different in this regard, because while the Ubuntu installer supports installing to btrfs, it doesn’t allow for selecting a custom btrfs subvolume to install to (unlike Arch, which does).
So I’ll cover how to work around this limitation.
Installing Ubuntu (24.04 LTS)#
You can install Arch and Ubuntu in any order, but we’ll install Ubuntu first because it installs to the top subvolume, which we’ll need to change, so we’ll install it first to make it easier to move the installation under a subvolume after it’s done installing. Then we’ll proceed with Arch linux after that. I’ve tested this process through a VM, but the steps should be the same.
Boot your machine up off the Ubuntu image, and select “Try or Install Ubuntu”:
Once the live image has booted, pick “Install Ubuntu”:
Pick the option for “Interactive installation”:
I’m also picking the “Extended selection”:
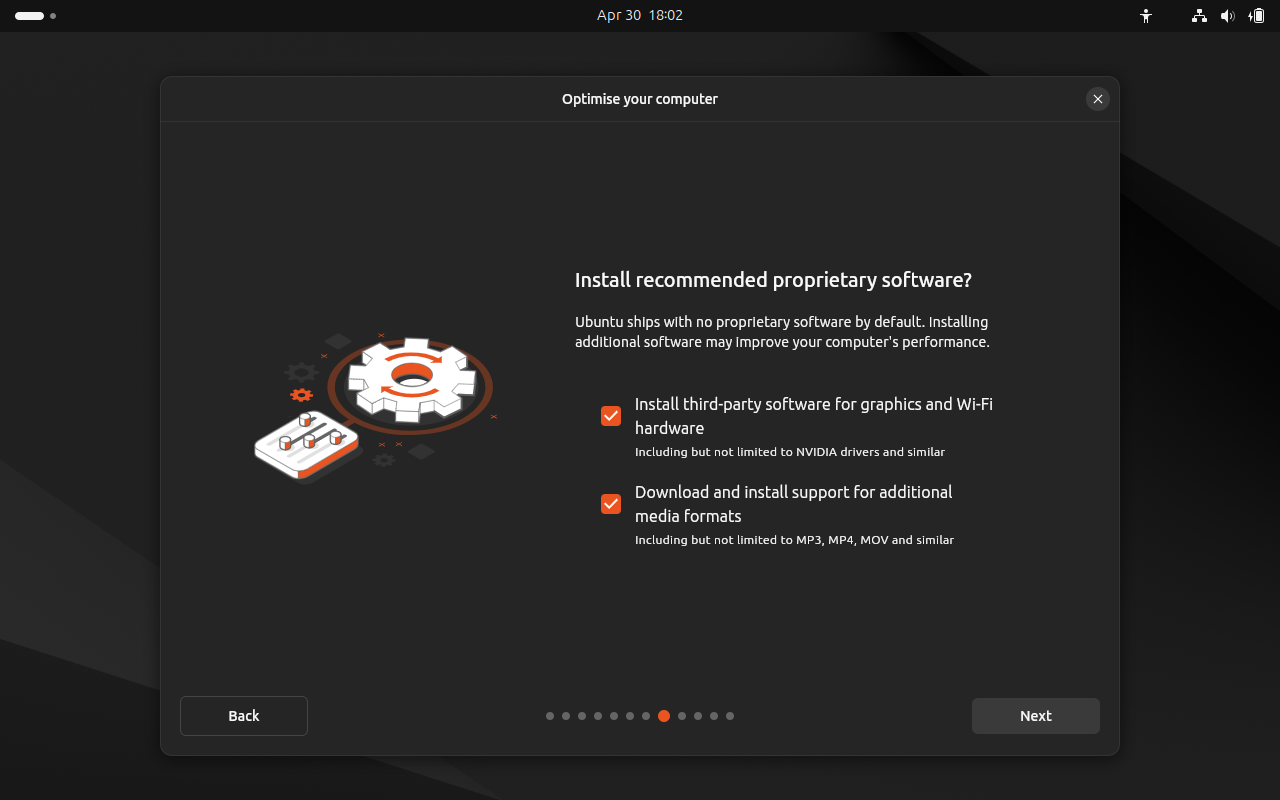
Next, install third-party software and additional media formats:
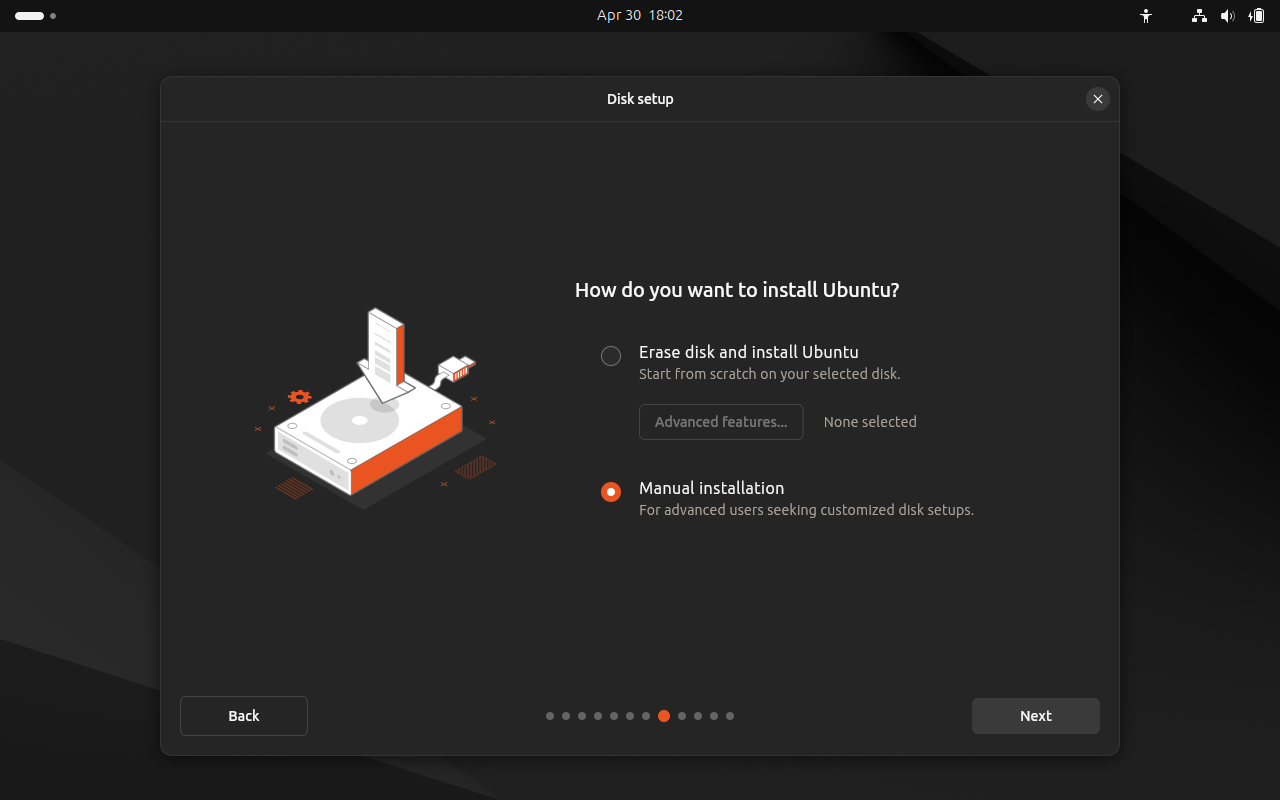
On the next screen for Disk setup, pick “Manual installation”:
This brings us to manual partitioning:
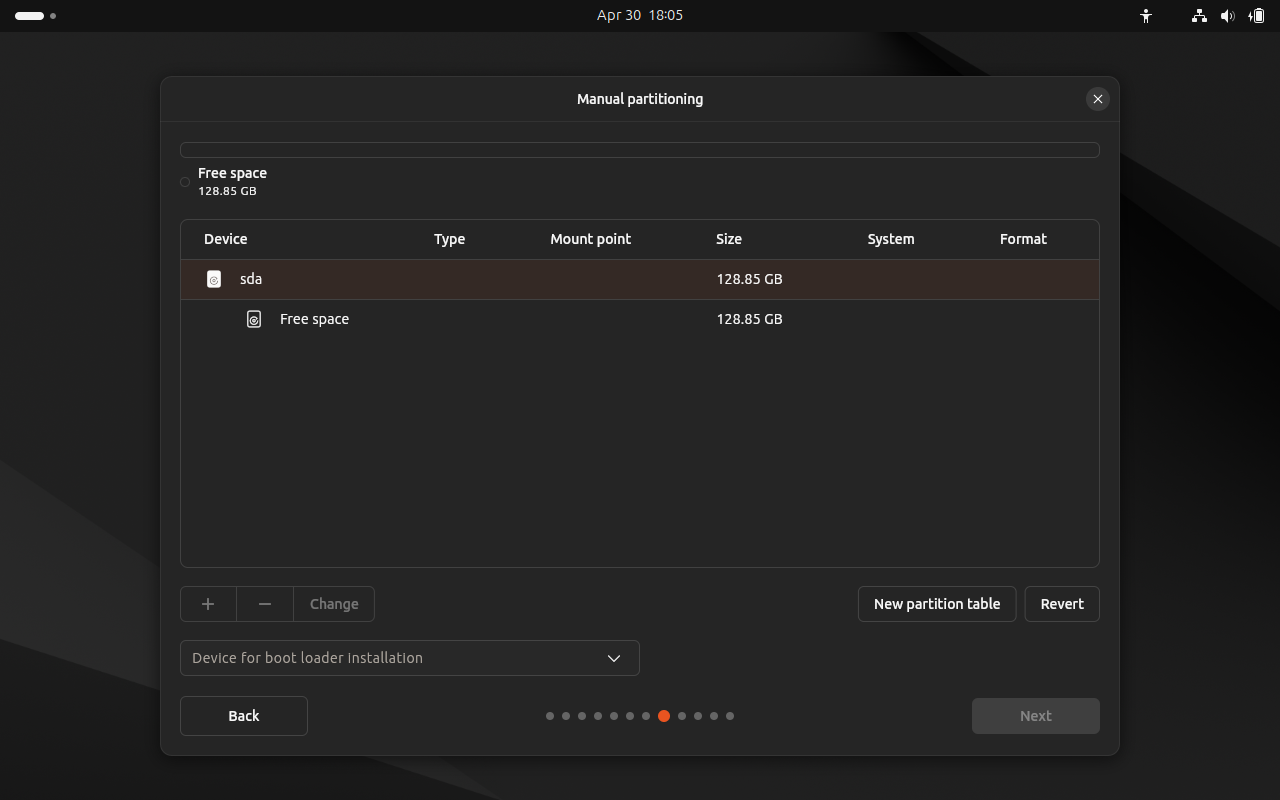
Select “Device for boot loader installation” and set it to the hard drive where you’ll install Ubuntu and Arch. On my VM, this is /dev/sda:
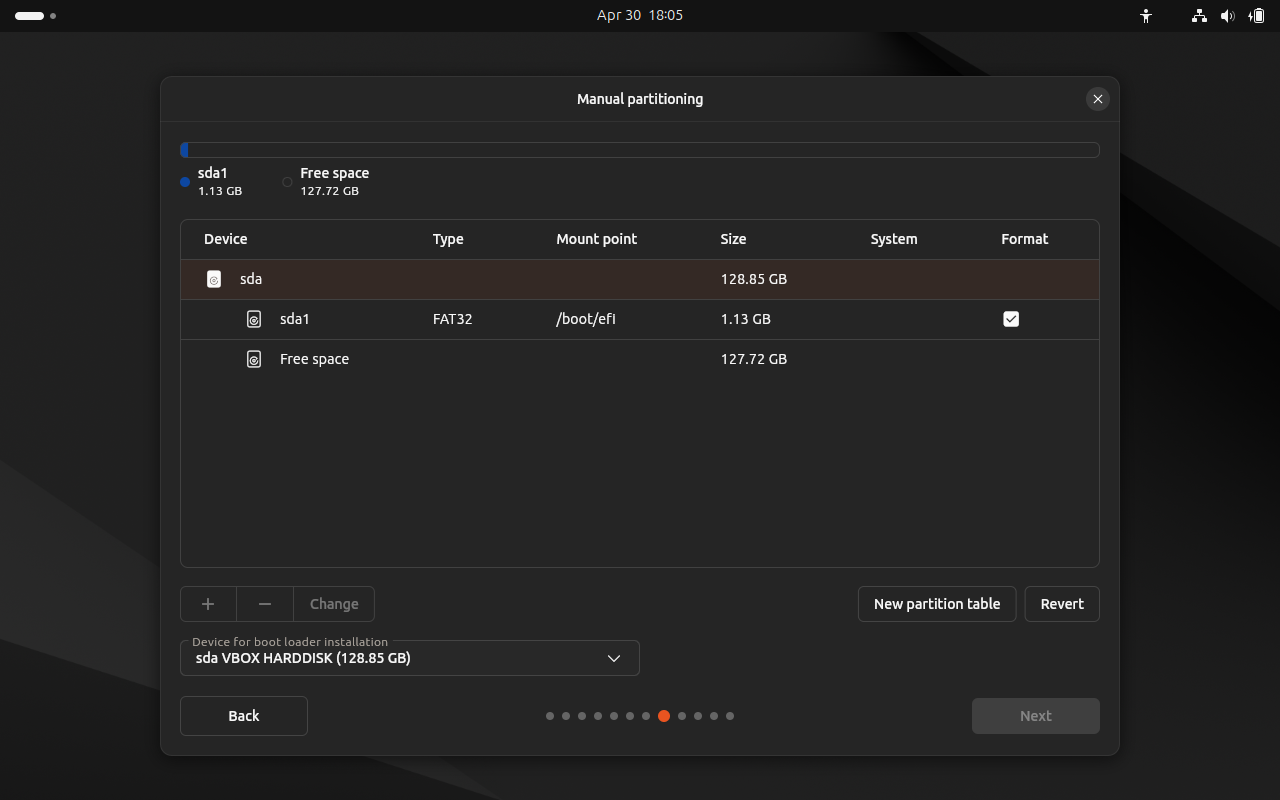
Once the boot loader installation drive has been selected, select the free space and add a partition by clicking the + button, selecing used as Btrfs, and set the mount point as /:
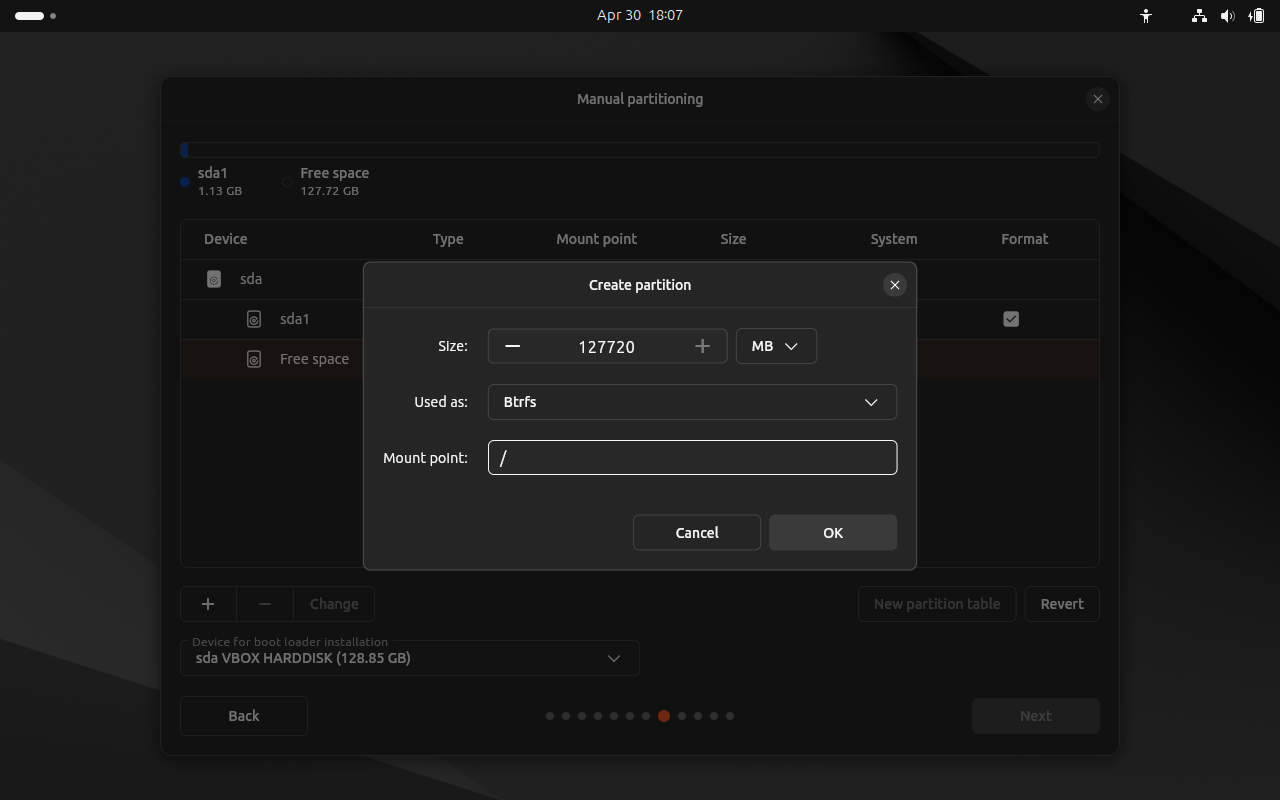
Now click OK. Your partition table should look like this:
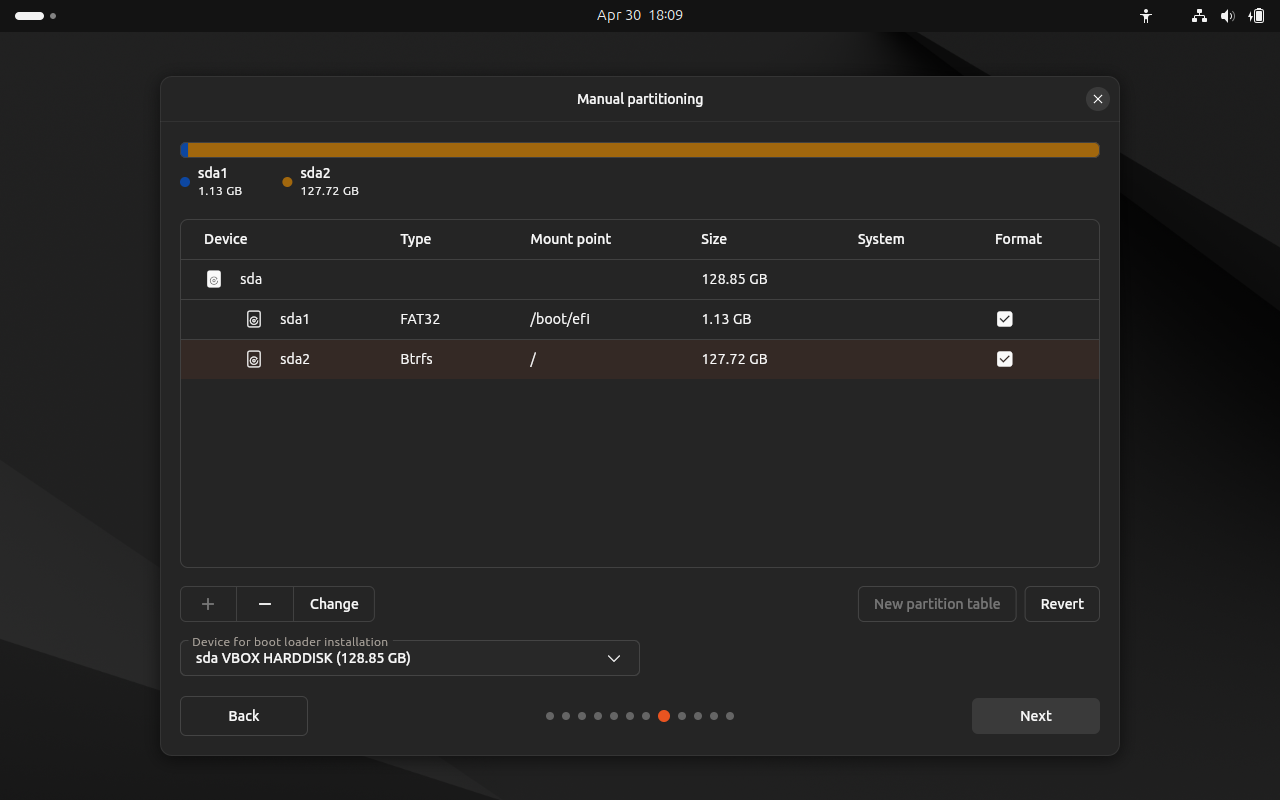
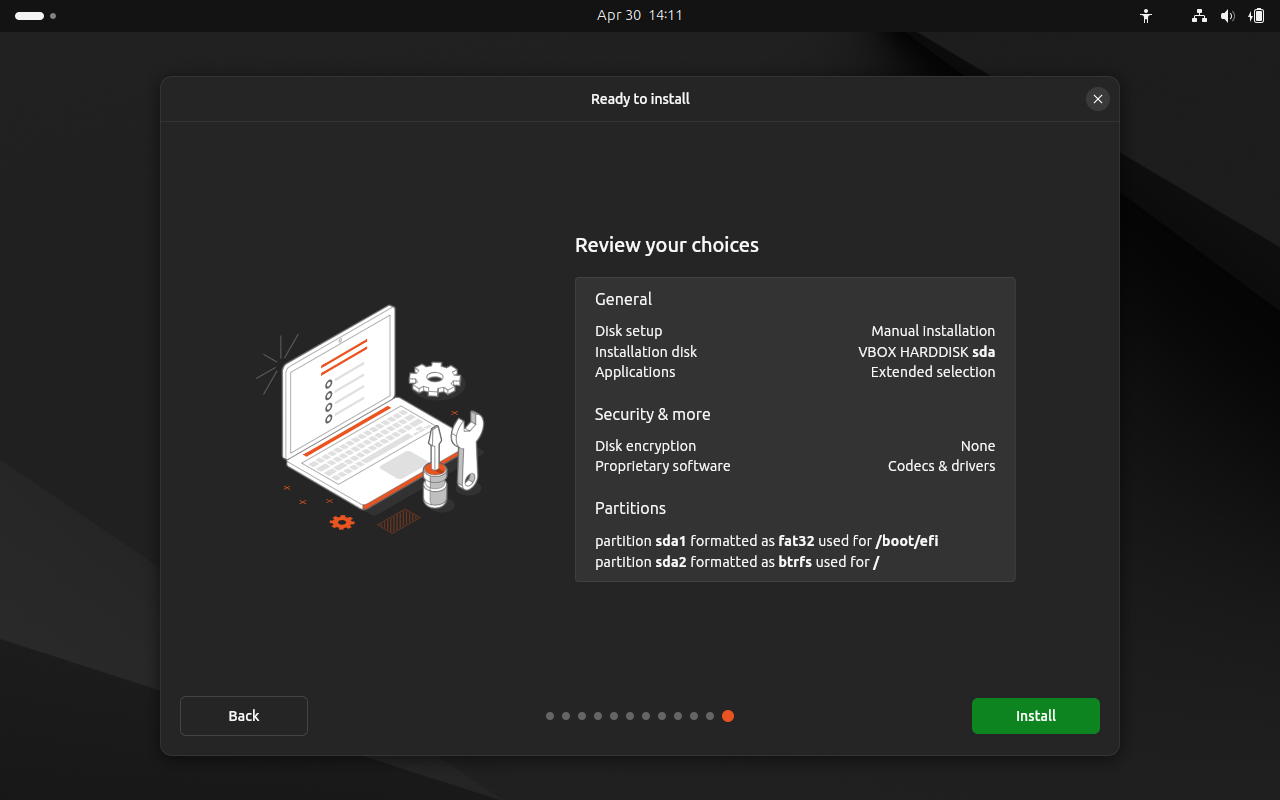
You’re ready to proceed. Click Next. For the rest of the install, proceed by filling out the rest of your details for the install. Once you’ve filled out your account details, and selected your region, click the green “Install” button:
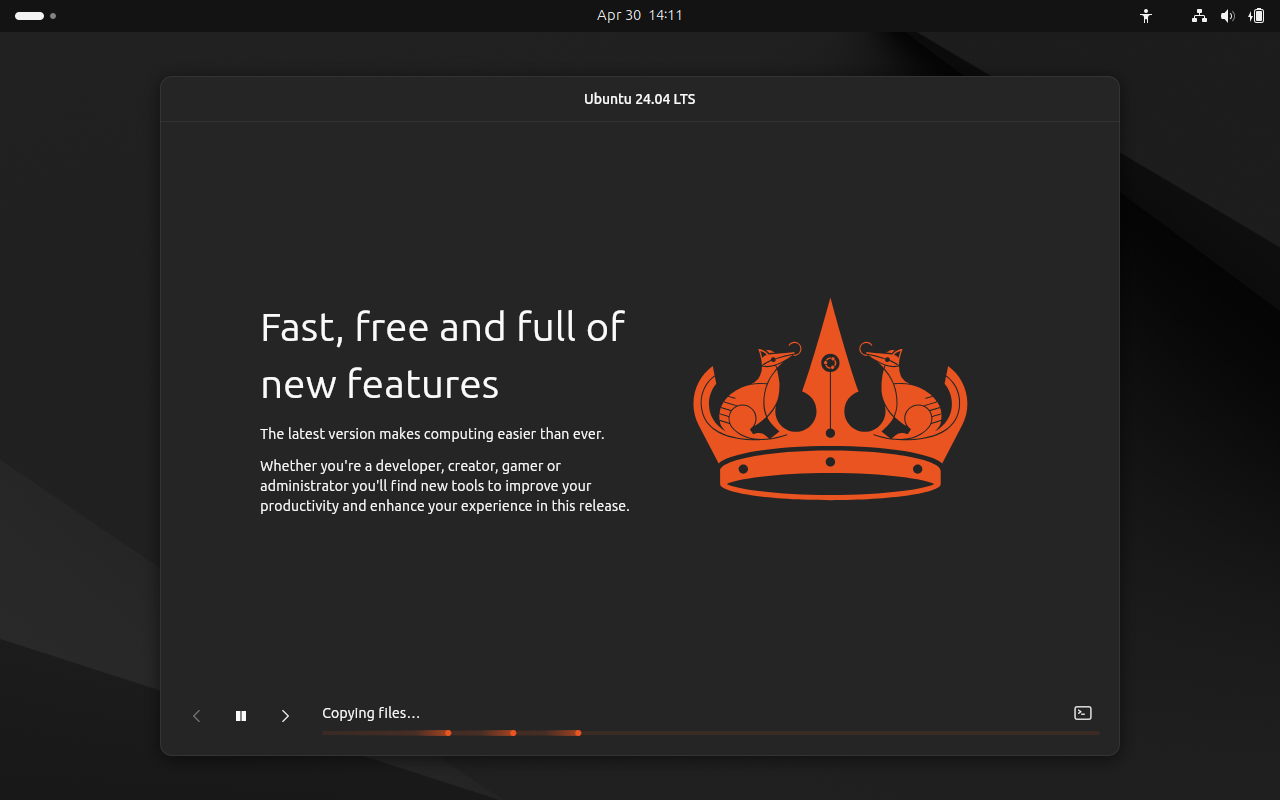
This should start the installation process:
After installation#
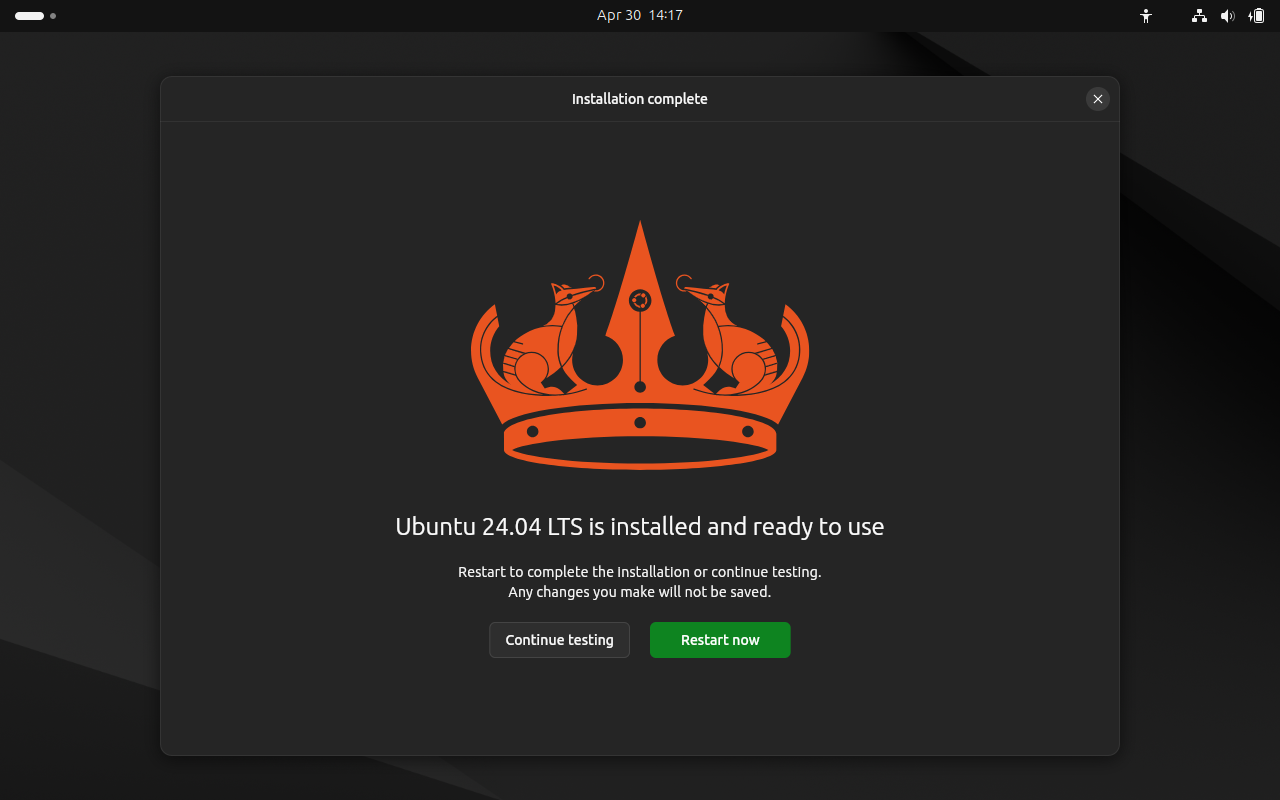
After Ubuntu is installed, it will ask if you want to reboot. DO NOT reboot. Instead, choose “Continue testing”, as we will next create a btrfs subvolume snapshot and set our bootloader (GRUB) to point to the new subvolume snapshot before rebooting.
You should now be booted into the live image desktop. Open the terminal and let’s examine our disks:
lsblk
Look for the section that shows this:
sda        8:0    0    120G   0  disk
└──sda1    8:1    0      1G   0  part  /target/boot/efi
└──sda2    8:2    0  118.9G   0  part  /target
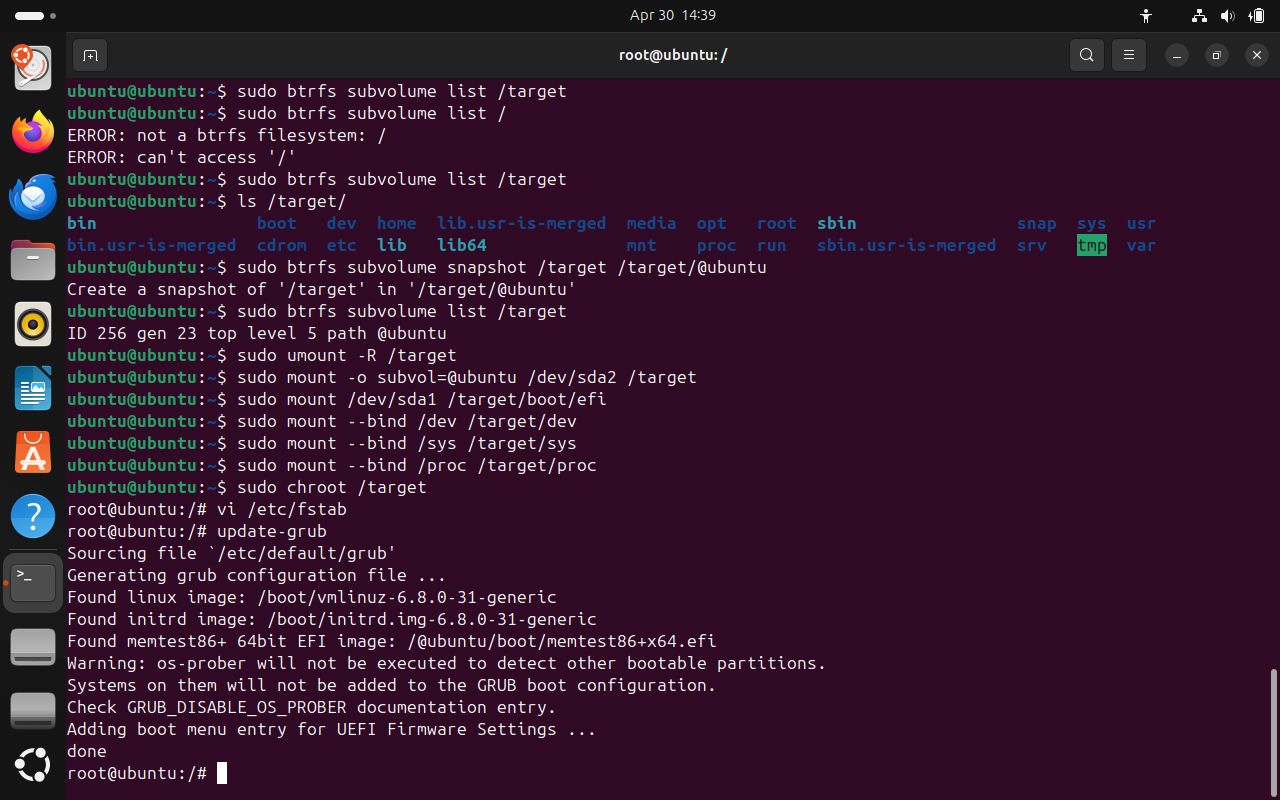
/target is the directory the Ubuntu installer mounted our hard drive to during installation. It is still mounted. Let’s now snapshot the Ubuntu installation into a new subvolume called @ubuntu:
sudo btrfs subvolume snapshot /target /target/@ubuntu
This should print out the following message:
Create a snapshot of '/target' in '/target/@ubuntu'
Now check the btrfs subvolumes to see the snapshot we just took:
sudo btrfs subvolume list /target
You should see something like this:
ID 256 gen 23 top level 5 path @ubuntu
Now we want to unmount /target:
sudo umount -R /target
Now, let’s remount the /target path, but this time we’ll mount the subvolume @ubuntu that we just created:
sudo mount -o subvol=@ubuntu /dev/sda2 /target
Mount the EFI partition as well:
sudo mount /dev/sda1 /target/boot/efi
Mount these directories as well:
sudo mount --bind /dev /target/dev
sudo mount --bind /sys /target/sys
sudo mount --bind /proc /target/proc
Finally, chroot into the Ubuntu installation, now that it has been remounted from the @ubuntu snapshot:
sudo chroot /target
This should now show the following root prompt:
root@ubuntu:/#
Update /etc/fstab#
Open the /etc/fstab file in the new chrooted environment:
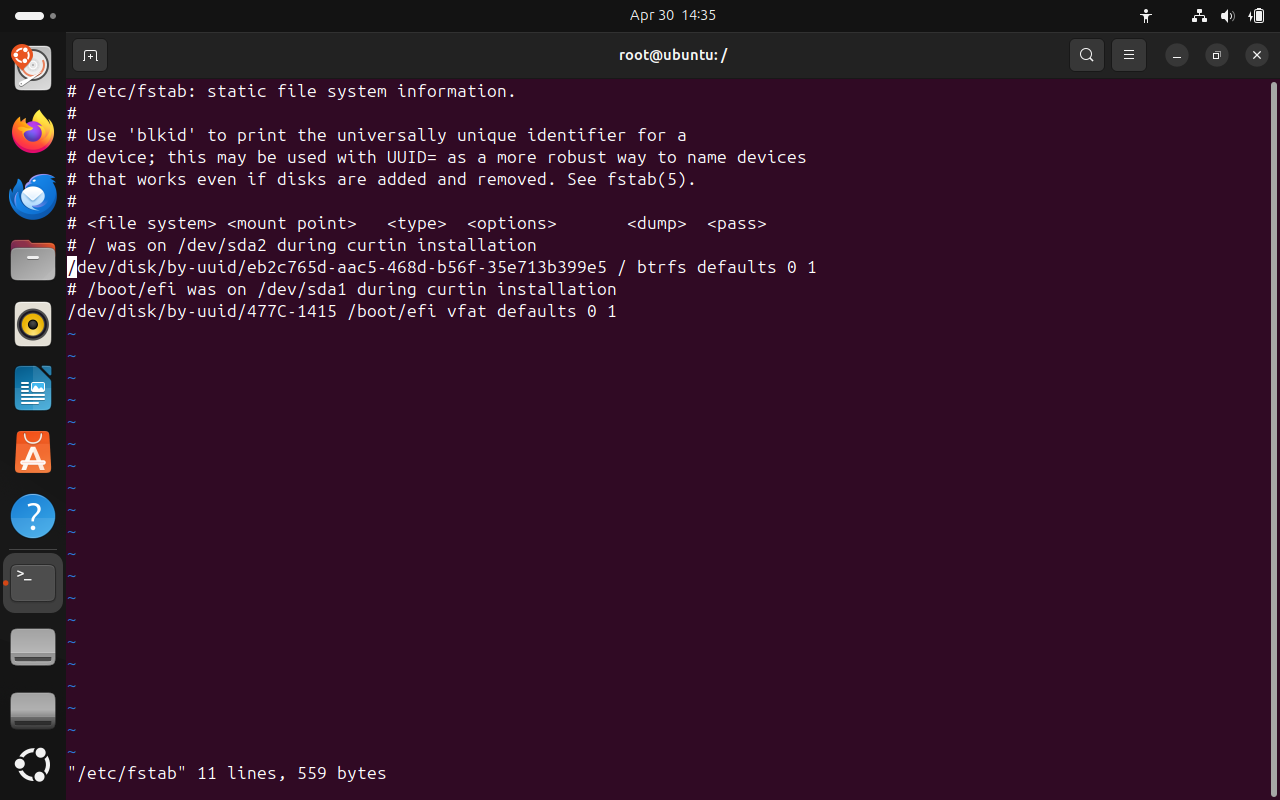
Change the file in /etc/fstab to point to the @ubuntu subvolume by replacing the defaults portion of the btrfs entry with subvol=@ubuntu:
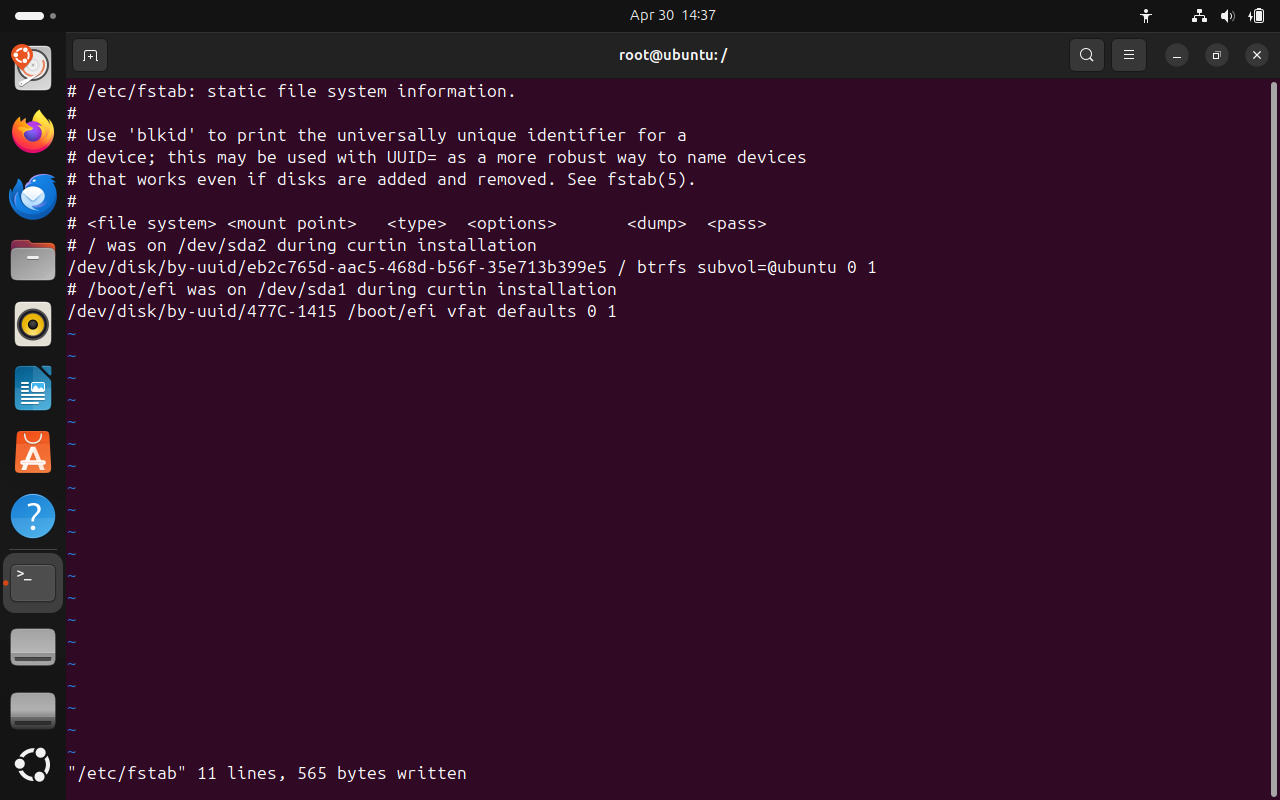
Save and exit the /etc/fstab file. Next, let’s regenerate the GRUB configuration so it knows about our Ubuntu installation on the @ubuntu subvolume.
Reinstall the grub bootloader:
grub-install
Update the grub config:
update-grub
Update initramfs#
update-initramfs -u -k all
Exit chroot, unmount drive, reboot#
Type exit to exit the chroot environment where Ubuntu is installed. Then, unmount /target:
sudo umount -R /target
Finally, type reboot and hit enter. This should reboot the machine, and GRUB should now select the new subvolume we created.
Verify subvolume is active#
Once you’ve reboot into the new installation, let’s confirm that GRUB successfully booted from our @ubuntu subvolume. Open the terminal again and check out the / directory:
ls /
You should not see /@ubuntu any longer, because it is currently mounted. Let’s confirm more thoroughly by verifying the mount points:
mount | grep sda
You should see /dev/sda2 mounted with subvol=/@ubuntu:
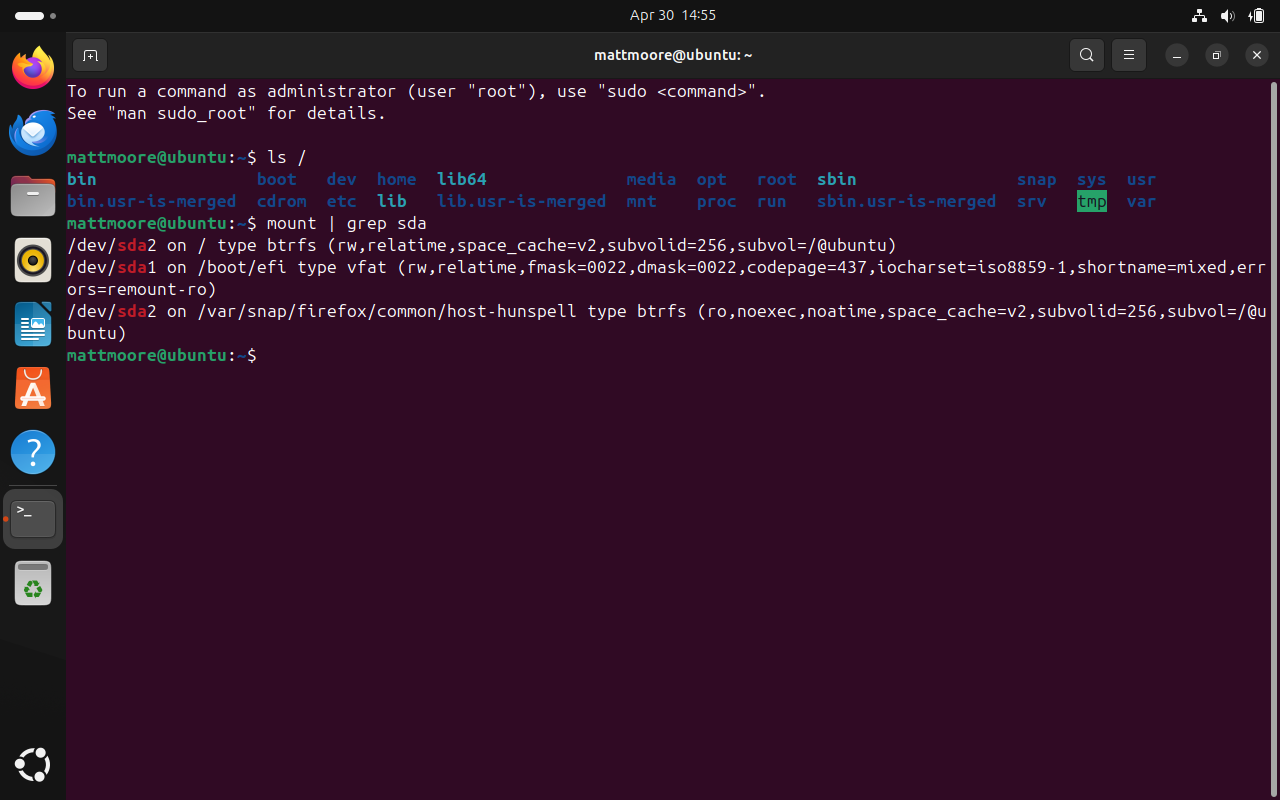
If that shows up correctly, you are mounted to the @ubuntu snapshot we created earlier in this guide.
Clean up root Ubuntu install now that subvolume is working#
There is one more step we should do - delete the old Ubuntu install we had under / - the root of the btrfs partition.
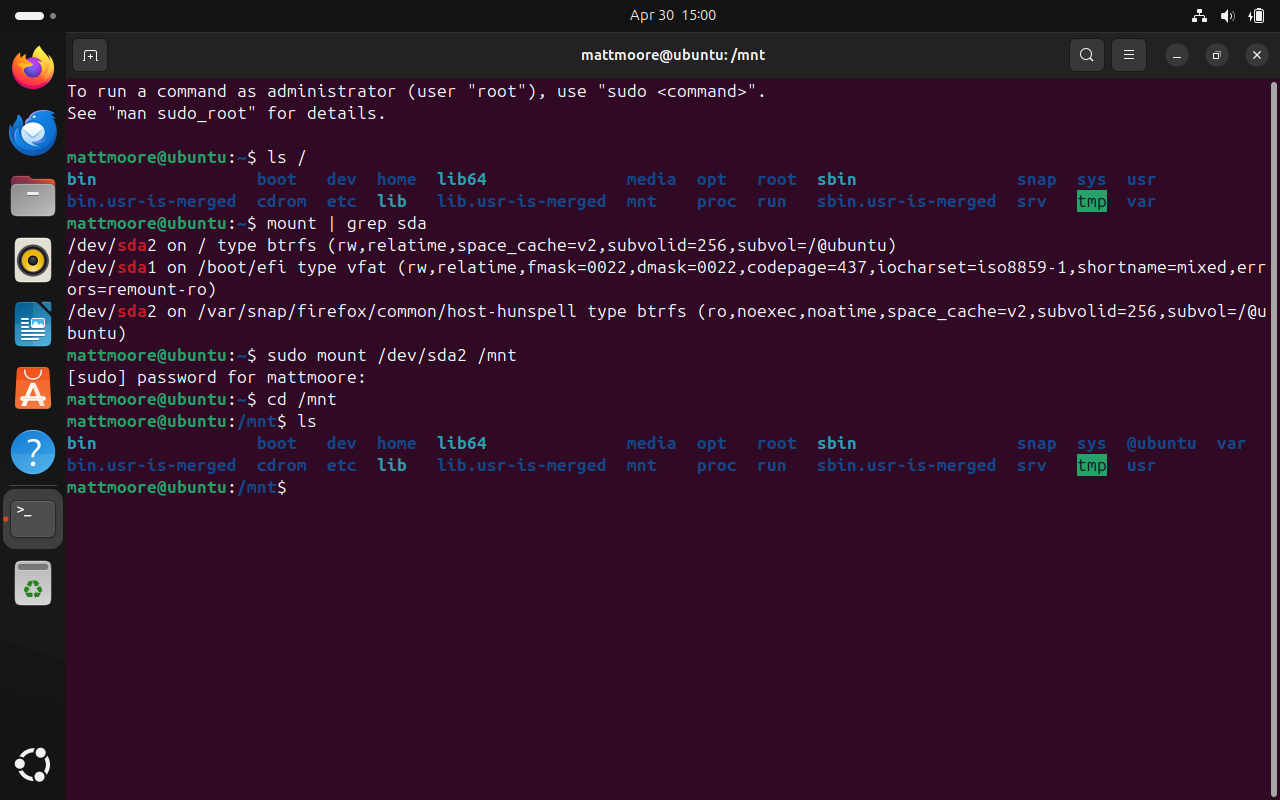
Mount /dev/sda2 to /mnt, cd into it, and ls the contents:
sudo mount /dev/sda2 /mnt
cd /mnt
ls
You should now see /mnt/@ubuntu, along with all the other Ubuntu installation files:
Being careful that your current directory is /mnt, you can remove all the files under /mnt EXCEPT /mnt/@ubuntu - I am not responsible if you did not correctly cd /mnt before running this command. You should ALWAYS pay close attention and double-check any time you run rm, especially with the -rf flags:
sudo rm -rf bin boot dev home lib64 media opt root sbin snap sys var bin.usr-is-merged cdrom etc lib lib.usr-is-merged mnt proc run sbin.usr-is-merged srv tmp usr
To confirm, run ls again, and you should now only see @ubuntu under the /mnt path. If there are any other files or folders from the original Ubuntu install in /mnt that I didn’t list above, you can remove those as well. Again, confirm these are actually your initial Ubuntu install files. It goes without saying that if you have files you know about stored on /mnt you should not delete them.
Once the old files are all deleted under /mnt, with only /mnt/@ubuntu remaining, cd to your home directory and then unmount /mnt:
cd ~
sudo umount -R /mnt
You can reboot if you’d like, to still confirm the @ubuntu subvolume is still booting correctly. Verify using the verification steps above. If you did everything correctly, Ubuntu will successfully boot back into the @ubuntu subvolume.
Installing Arch Linux alongside Ubuntu#
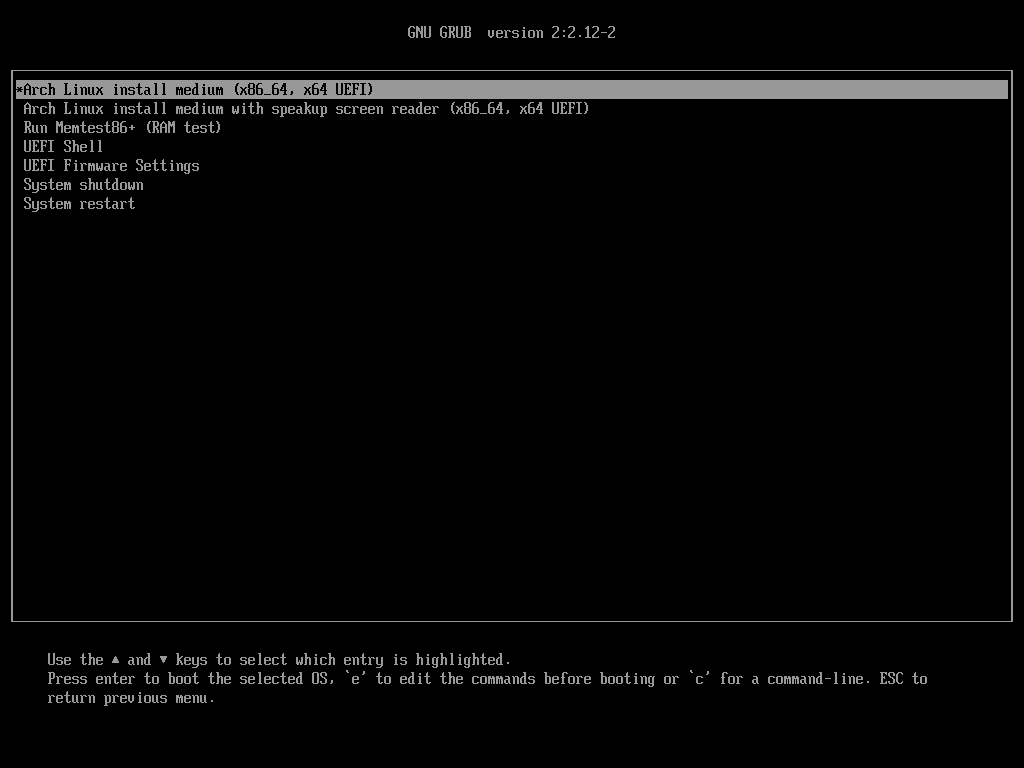
Shut down the machine and attach your Arch live media - physical disc or usb drive if you’re on physical, or the Arch ISO if you’re on a VM. Then, you’ll want to boot from the Arch media, selecting the first option in the list:
Once Arch boots up, you’ll get to the initial terminal:
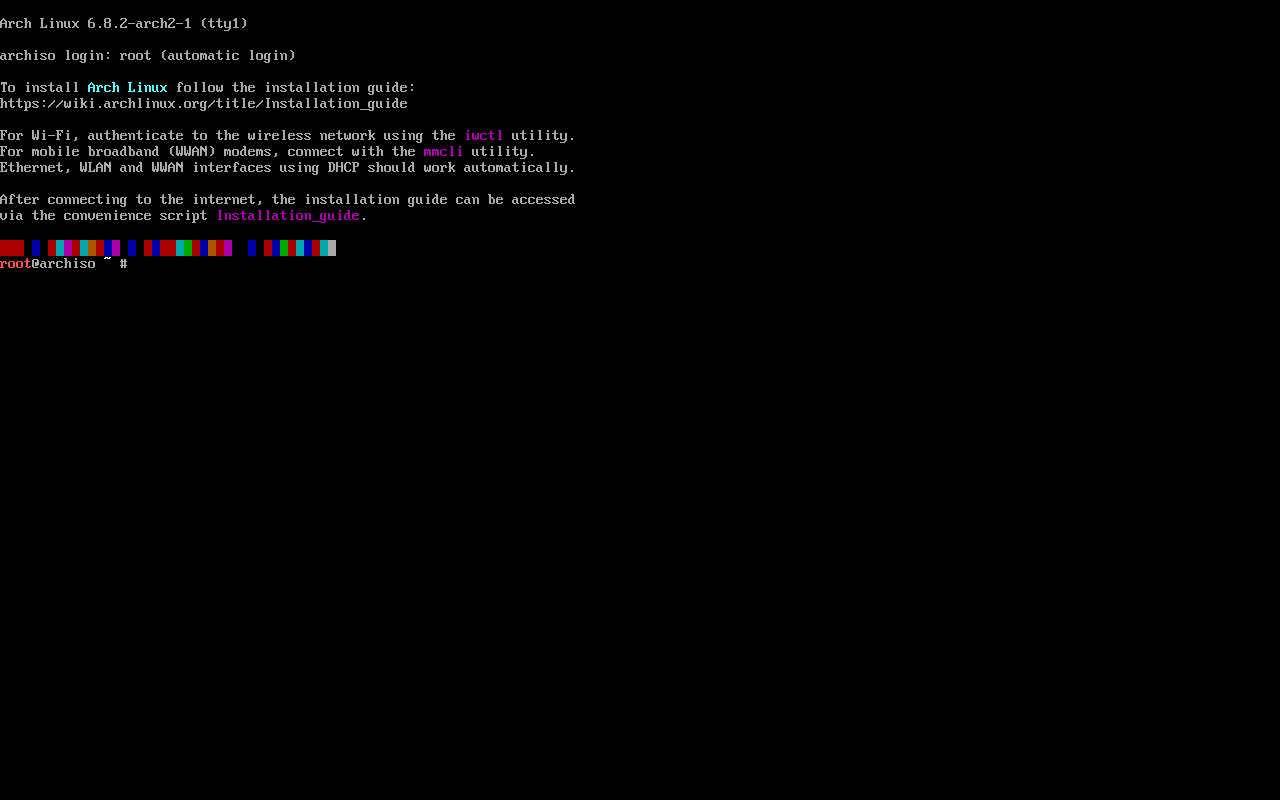
Mount /dev/sda2 to /mnt, then ls /mnt:
mount /dev/sda2 /mnt
ls /mnt
You should see @ubuntu under /mnt. Now we’re going to create another subvolume called @arch alongside @ubuntu:
btrfs subvolume create /mnt/@arch
That command should respond with:
Create subvolume `/mnt/@arch`
Now, unmount /mnt:
umount -R /mnt
And now we’ll remount to the @arch subvolume. This is similar to Ubuntu, but this time around I’ll also enable compression to show how that is done:
mount -o compress=zstd,subvol=@arch /dev/sda2 /mnt
You can leave out the compress=zstd option if you’d like. With it added, files will be compressed upon write, which can save storage space. Whether you use compression or not is up to you. I’m just including it here to show that it can be used. For my daily machine, I use compression.
Then mount the EFI partition:
mount --mkdir /dev/sda1 /mnt/efi
If you ls /mnt/efi you should see the EFI directories created from the Ubuntu installation earlier. We don’t need to do anything with this now, just mount it to prepare for installation.
Now proceed with the Arch installation via pacstrap, being sure to include grub and all the btrfs programs we’ll need to manage our btrfs partition from Arch:
pacstrap -K /mnt base base-devel linux linux-firmware git btrfs-progs grub efibootmgr grub-btrfs inotify-tools timeshift neovim networkmanager pipewire pipewire-alsa pipewire-pulse pipewire-jack wireplumber reflector zsh zsh-completions zsh-autosuggestions openssh man sudo os-prober
You can install vim instead of neovim - I prefer using neovim these days, so went with that. You can also install both vim and neovim.
Note I am also installing os-prober - this is important so that the GRUB install from Arch can detect Ubuntu and any other OSs we might have installed.
Once pacstrap finishes, generate the fstab:
genfstab -U /mnt >> /mnt/etc/fstab

# Check if fstab is fine
cat /mnt/etc/fstab
Now, let’s chroot into the new install:
arch-chroot /mnt
Follow the remaining steps from the Arch wiki to set up your language, locale, hostname and any user accounts/passwords.
Next we’ll need to install GRUB, taking into account our Ubuntu installation:
grub-install --target=x86_64-efi --efi-directory=/efi --bootloader-id=GRUB
Edit the /etc/default/grub file, uncommenting this line:
GRUB_DISABLE_OS_PROBER=false
That will allow grub to invoke os-prober to find our earlier Ubuntu installation.
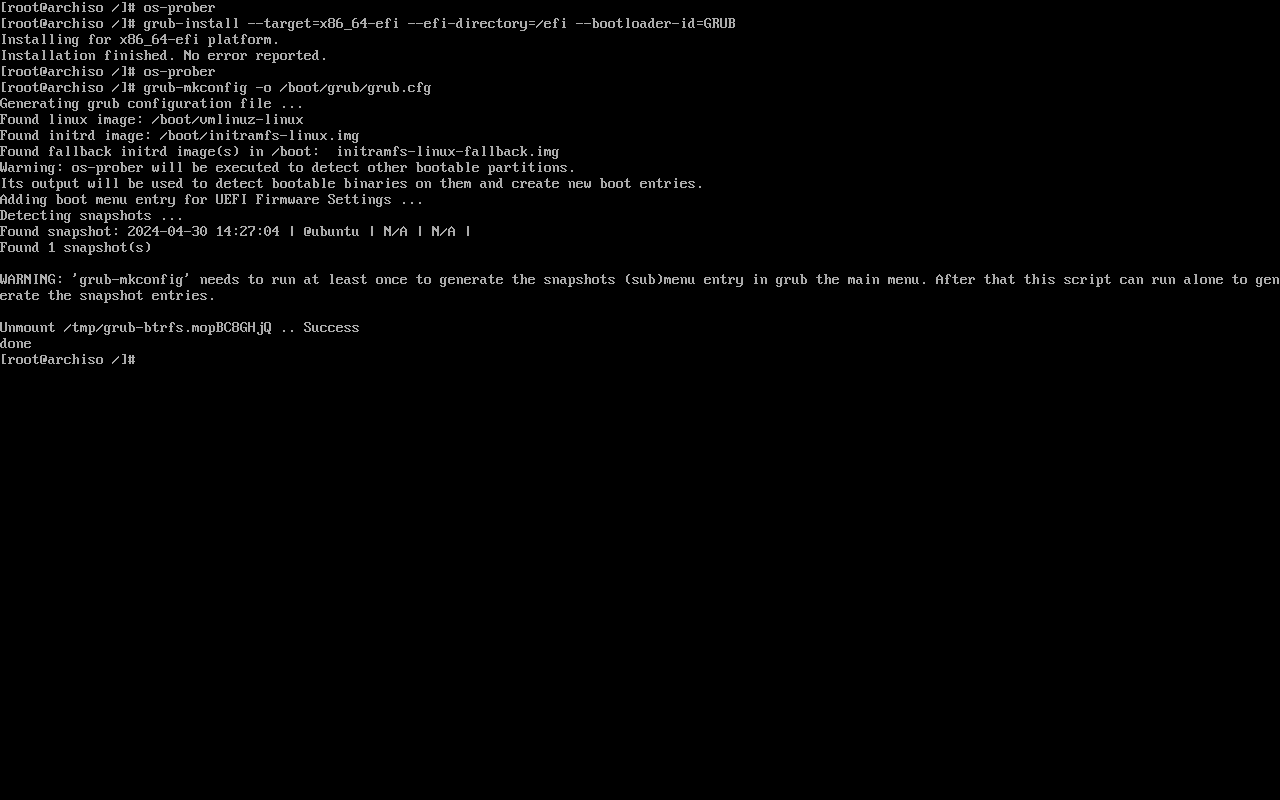
Now run os-prober, then generate the grub configuration:
os-prober
grub-mkconfig -o /boot/grub/grub.cfg
You should see a message showing the @ubuntu snapshot was found:
Finally, enable NetworkManager (or your favorite network software of choice), and exit the arch-chroot:
systemctl enable NetworkManager
exit
Unmount everything:
umount -R /mnt
Finally, reboot:
reboot
Once rebooted, you’ll see the GRUB screen now lists Arch Linux as the main entry:
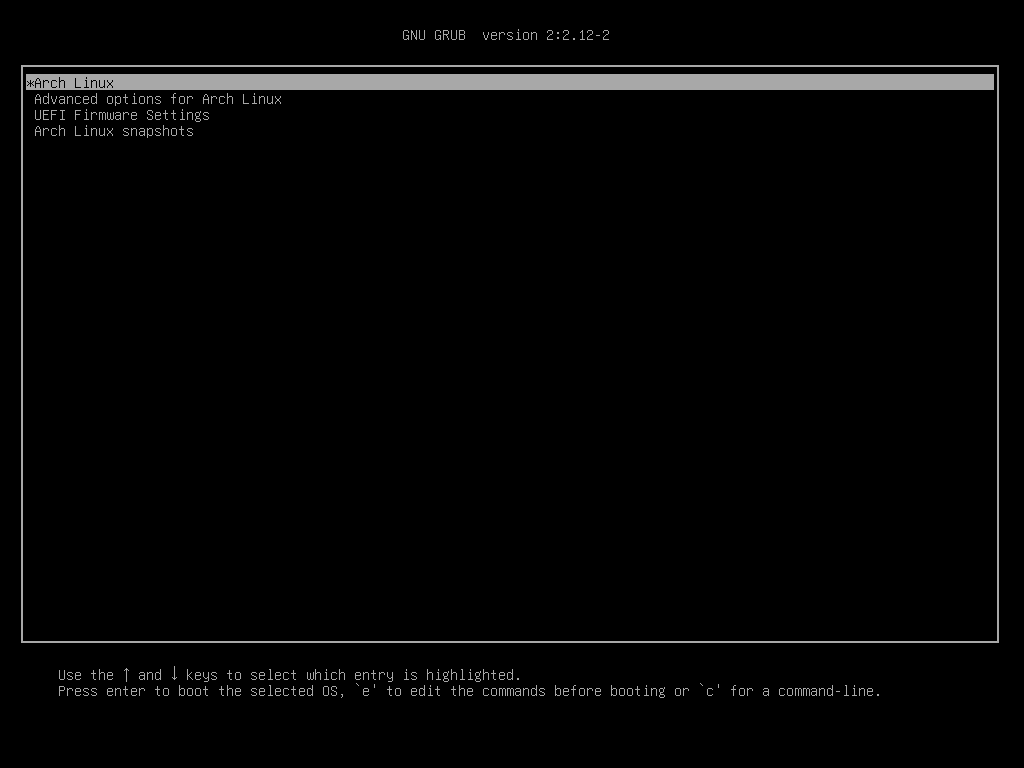
Where did Ubuntu go??? No worries, Ubuntu is still available, but it’s listed under “Arch Linux snapshots” - yeah the naming isn’t great, and you can configure that later, but it’s outside the scope of this article. If you select the snapshots entry, you’ll see Ubuntu:
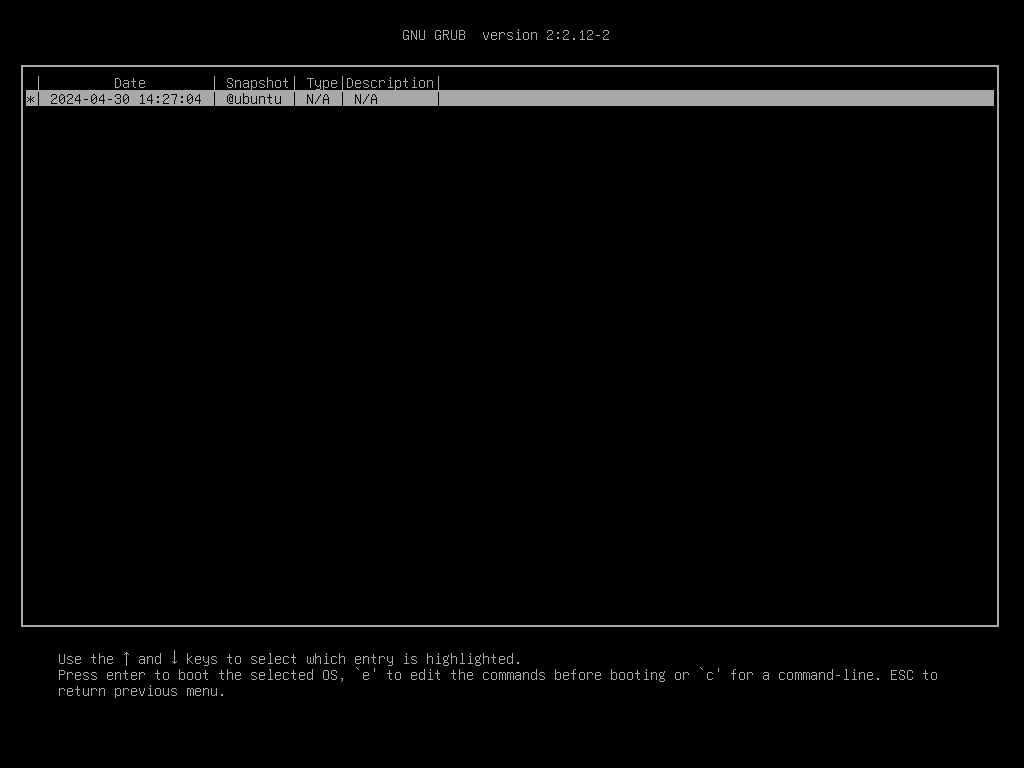
Drill down on the @ubuntu entry again, and you’ll see a vmlinuz entry:
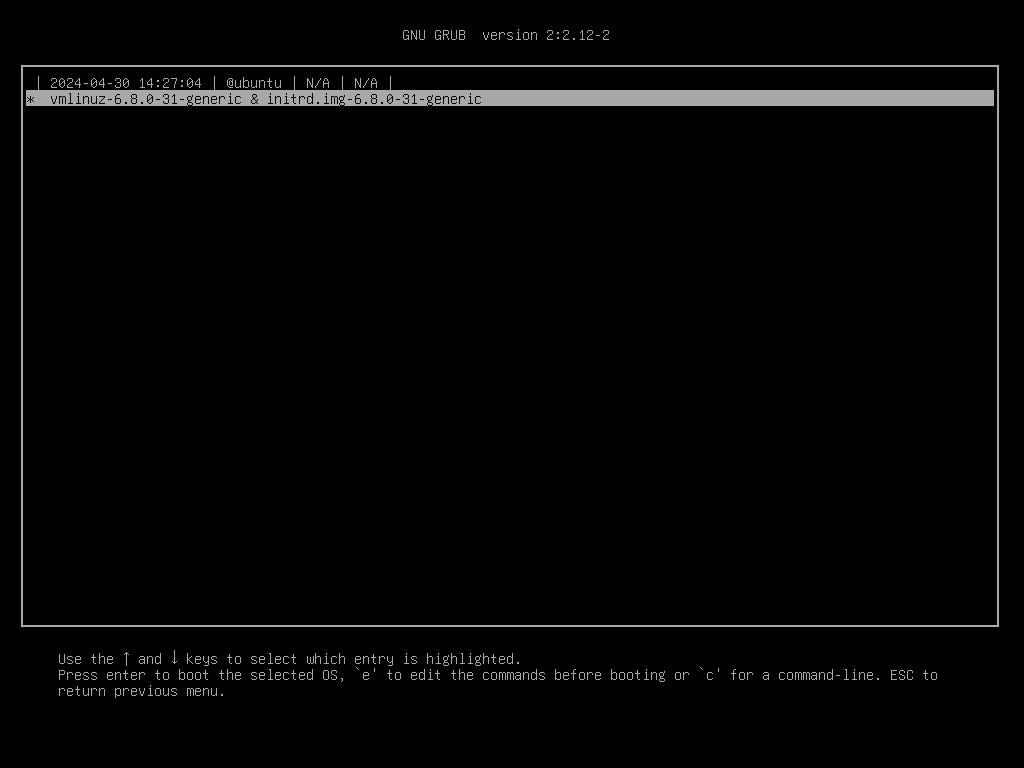
Select that entry with your enter key and Ubuntu will boot up.
Or select the Arch linux entry to boot into Arch.
From within either Arch or Ubuntu, you can inspect the subvolumes containing the OS by running:
sudo btrfs subvolume list /
Which will show you:
ID 256 gen 121 top level 5 path @ubuntu
ID 257 gen 118 top level 5 path @arch